
Memorial Day Banner (or any special occasion!)
Memorial Day kicks off the beginning of summer in America. We host back yard barbecues, head to the lake, shop the Memorial Day sales or just sit back and enjoy a holiday from the nine-to-five drudgery.
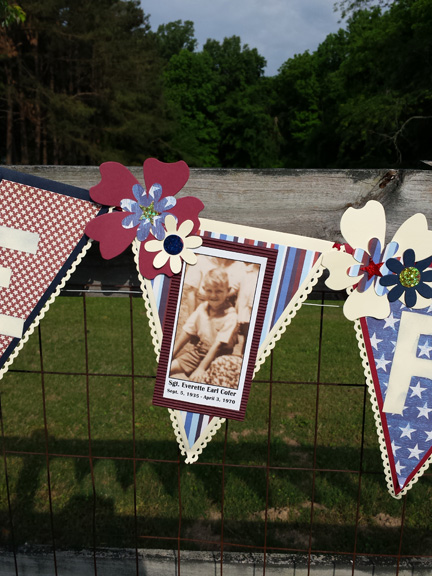
But Memorial Day is much more than that. It’s a time to honor those who have made the ultimate sacrifice for the freedoms we hold dear. Some of these military personnel were drafted into the service. Some chose it as a way of life. Some survived one war, only to die in another, like my uncle, Everette Earl Cofer. He was injured in Korea, and then died in a rice paddy in Vietnam. I have made several projects that feature him in his Special Forces uniform, so this time, I decided to use a photo from his boyhood, relaying his innocence growing up in rural Water Valley, Mississippi. He was the gentlest of the five Cofer brothers, but he loved military life almost as much as he loved his country and was a career soldier.
This banner would be a great decoration for your holiday party and can be adapted to be used for Veteran’s Day celebrations as well. The Kool Tak™ Premium Extreme is heat resistant, so using it outside, even in the sun, will not cause the adhesive to release.
Supplies
-
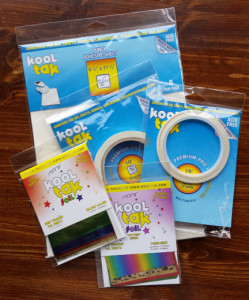
Kool Tak products make the work you put into any project worth the time. You can rest assured that when you use Kool Tak Premium Extreme adhesive, it will stay secure even in extreme heat.
- Kool Tak™ Premium Extreme, 1/2”
- Kool Tak™ Punch Adhesive Sheet, 8 1/4″ x 11 1/2″
- Kool Tak™ Foil Sheets – Holiday Colors
- Kool Tak™ Foil Sheets – Mardi Gras
- Die cut alphabet letters (Paper Accents)
- Card stock, 8 ½” x 11”, dark red, navy blue, six sheets each; cream, 20 sheets
- Patterned Paper, three coordinating patterns, 11 sheets trimmed to 7” x 9” and one extra of each for die cuts (Paper Studio)
- Ribbon, ¼”, 1 roll, dark red, cream and navy blue (Offray)
- Circle punch, ¾”
- Star Punches, small and large (Stampin’Up!®)
- Sizzix flower and trim dies, Flourish, Floral with Leaves, Flower #2 and Tim Holtz Alterations, Vintage Lace (Ellison)
- Sizzix Big Shot (Ellison)
- Photo
- Corrugated Cardboard
- Permanent Ink, Navy Blue
- Sponge
- Tiny clothespins or bull dog clips

Tools: scissors, trimmer with cutting and scoring blade, ruler, pencil, craft knife
Instructions:
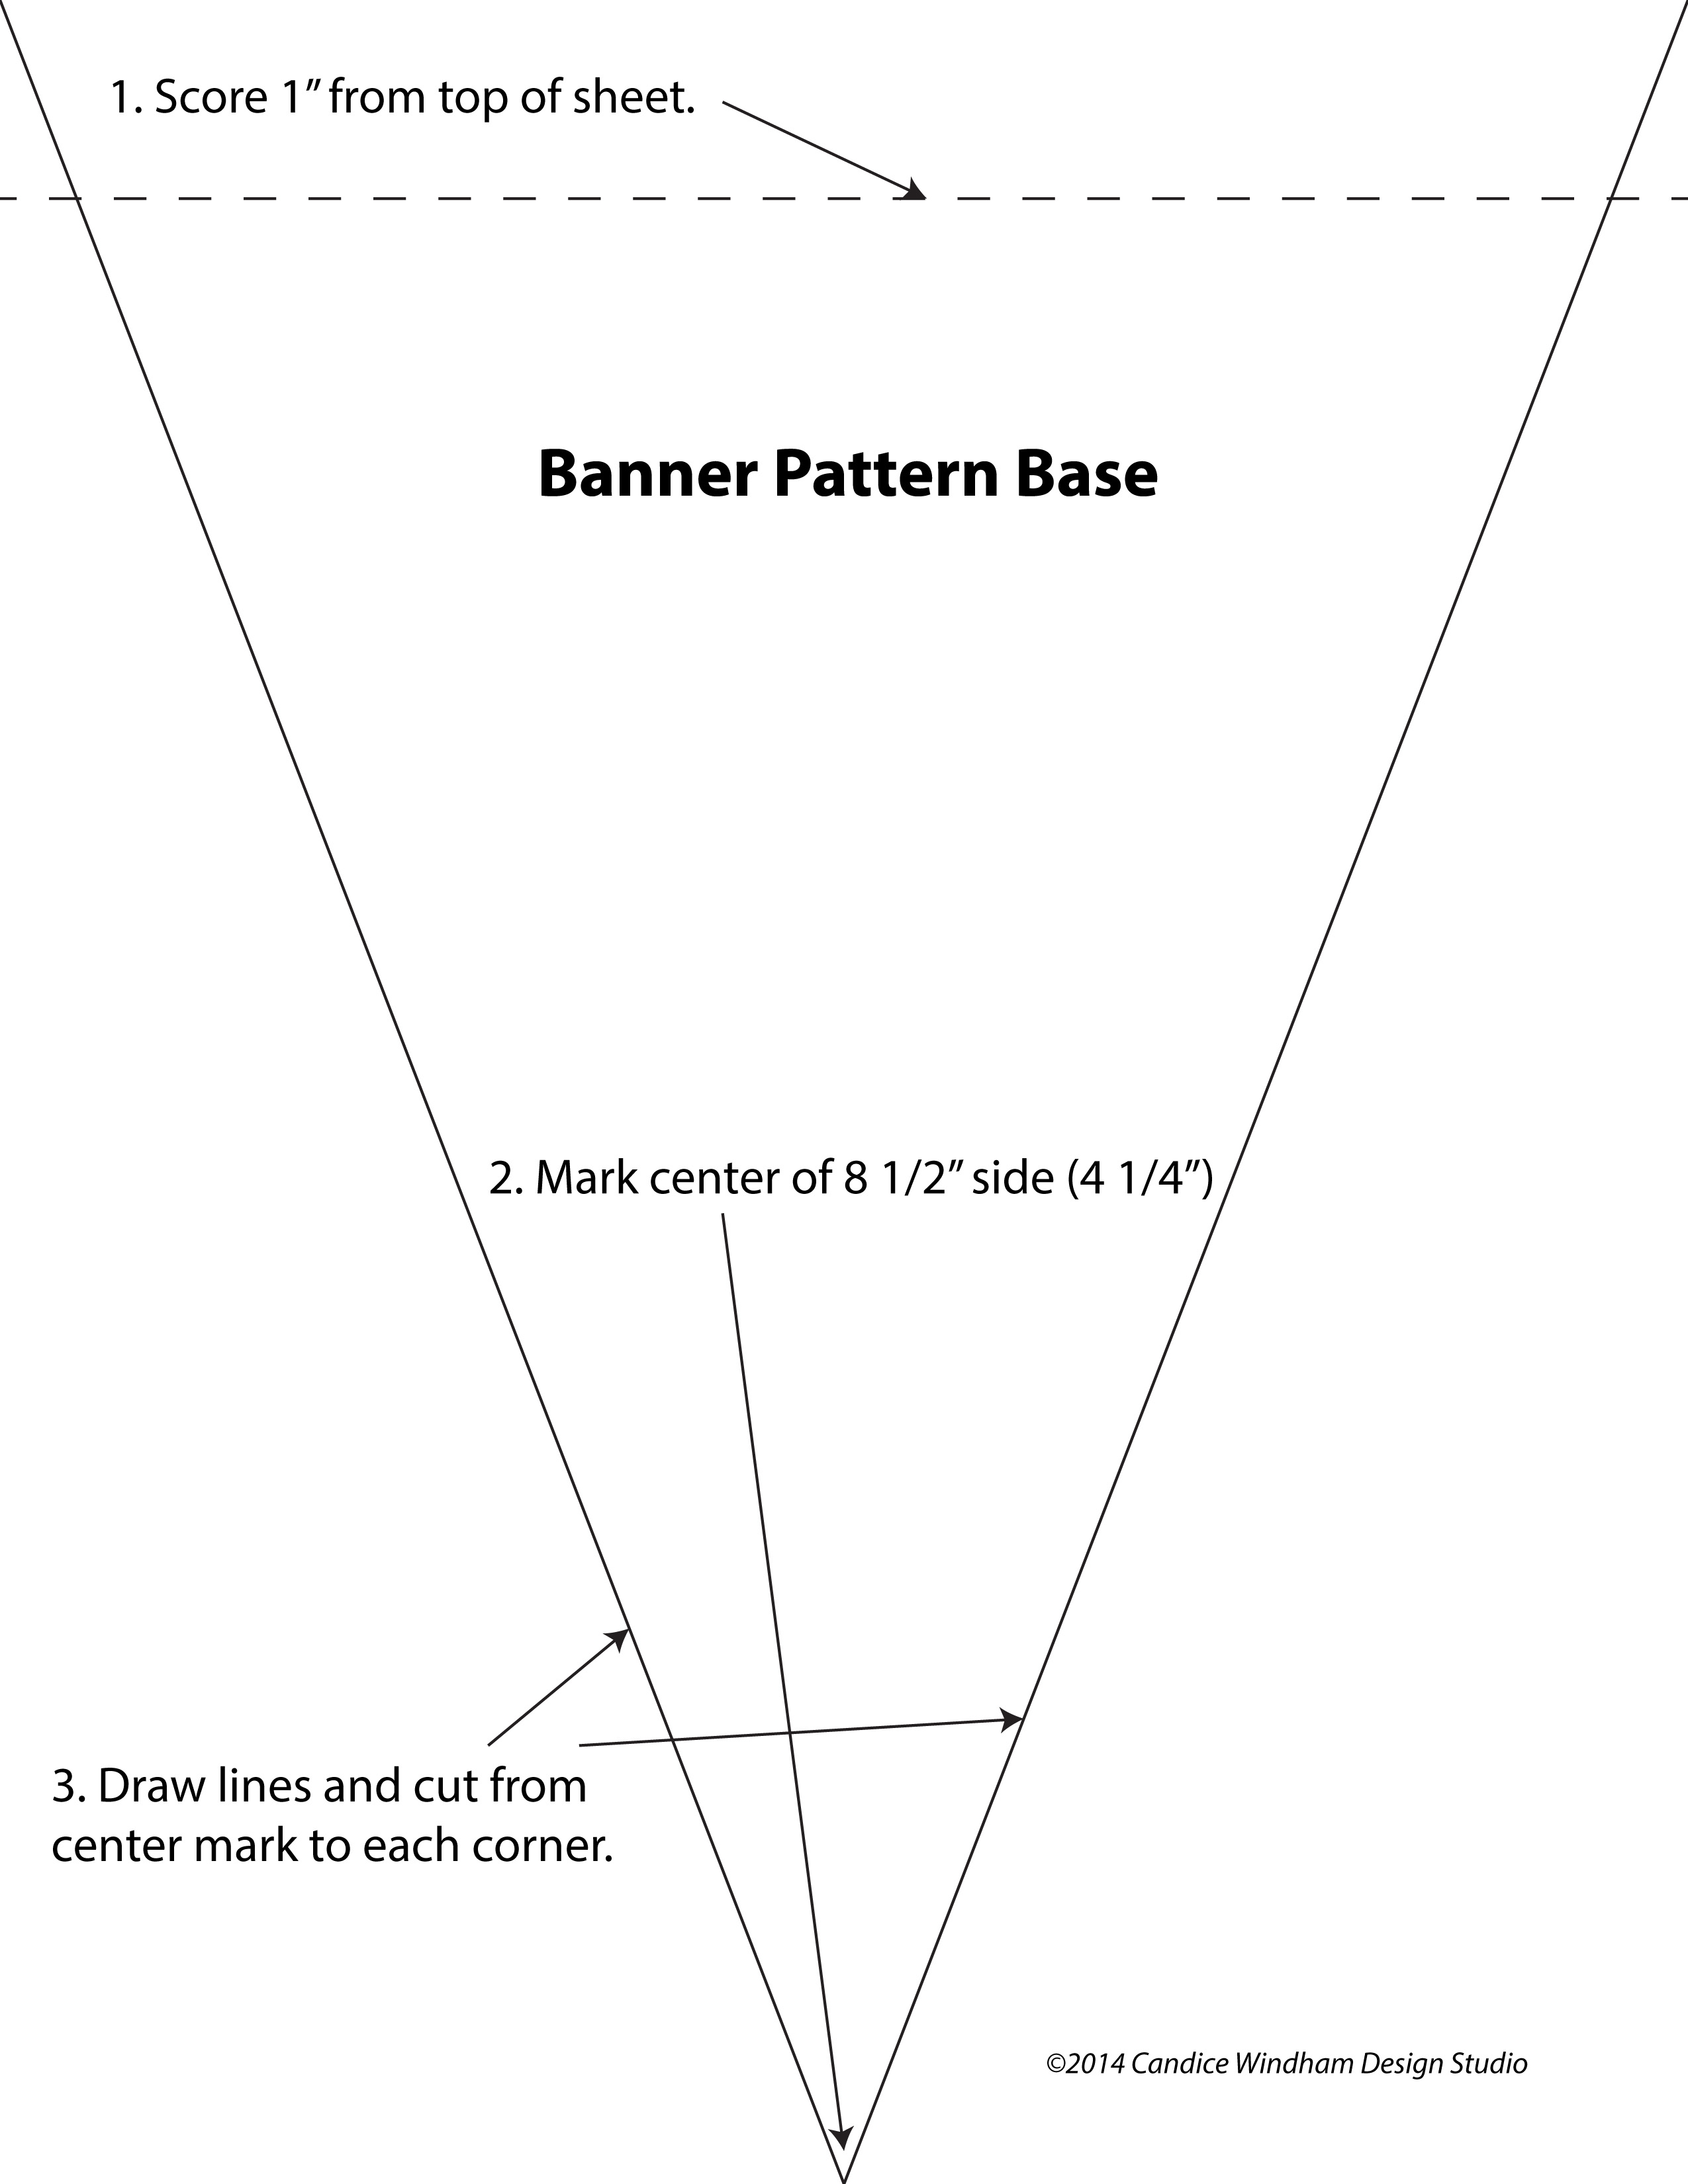
Use this pattern as a guide to prepare your banner base (solid card stock).
1. On the 8 ½” side of the card stock (three cream, four dark red and four navy blue), score 1” from the top edge (see pattern diagram). This will be the flap to attach the ribbons. On the opposite end mark the center of the edge. Draw a line from this point to corners on the opposite side and cut away excess to make the triangle. Fold the top flap down but do not apply adhesive at this point. Trim the excess card stock off of each corner.
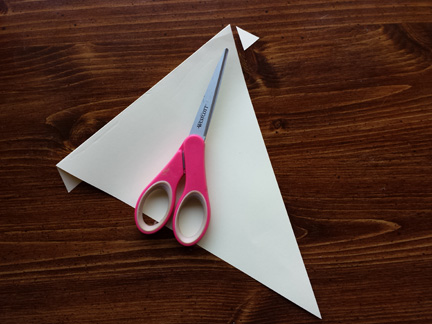
Trim away the excess card stock at the fold.
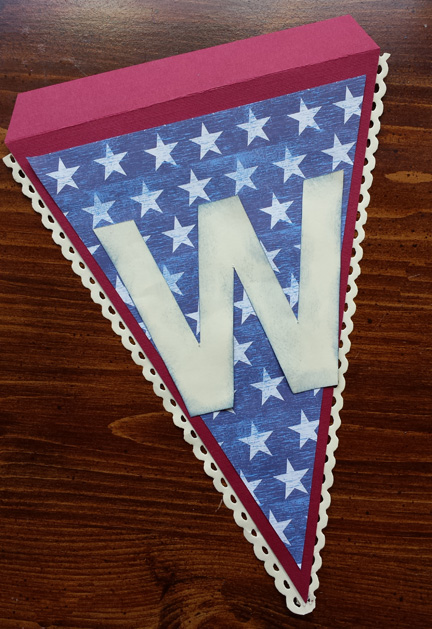
2. Cut triangles from the 7″ x 9″ patterned paper by finding the center (3 ½”) on the 7” side and drawing lines to opposite corners. Attach the patterned triangles to the banner bases with ½” Kool Tak™ Premium Extreme.

Use the vinyl alphabet to trace the letters onto the color card stock you want to use. Sponge the edges with navy Blue ink to make them stand out from the patterned paper background.
3. Use the vinyl alphabet to trace the letters onto cream card stock. Trim the letters, sponge the edges with Navy Blue permanent ink and attach the letters to each banner point with ½” Kool Tak™ Premium Extreme .
4. Cut 22 pieces of trim from cream card stock using the Vintage Lace die. Apply 1/8″ Kool Tak™ Premium Extreme to the sides of each triangle base and attach the Vintage Lace strips. Round off the excess trim at the point.
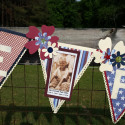
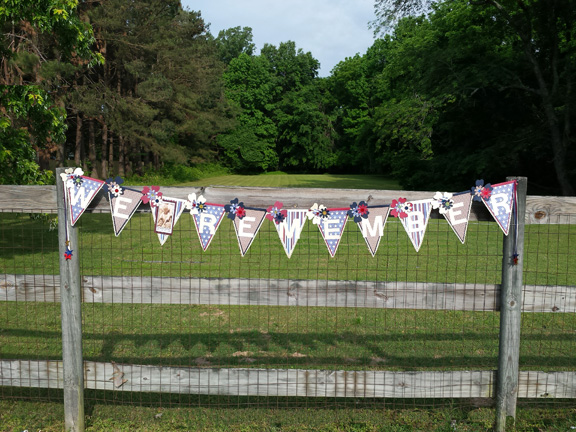
Use this photo as a guide to complete the remaining banners, making sure you alternate the patterns and backgrounds.
5. Die cut 11 large flowers and 22 small ones, using the extra sheets of card stock and printed paper and the scraps from the banner points, and set aside.
6. Adhere one side of the Kool Tak™ Punch Adhesive Sheet to card stock. Punch eight large stars, 11 small ones and 11 – ¾” circles. Remove release paper on each star and circle and apply gold, red and dark blue foils.
7. Assemble flowers with 1/2” Kool Tak™ Premium Extreme, using the photo as a guide.
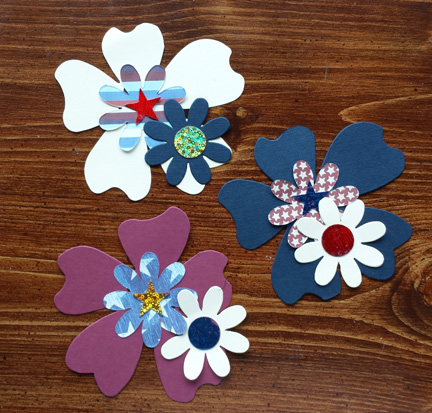
Cut flowers from scraps and the remaining sheets of card stock and patterned paper. Add the foiled stars and circles with 1/2″ KoolTak Premium Extreme. Use the photo as a color guide.
8. Cut ribbons to 7 yards long. Find the center of your ribbon(3 1/2 yards), center on the middle banner point (cream background with the M), and attach with ½”Kool Tak™ Premium Extreme. Continue adding the banner points until all are attached.
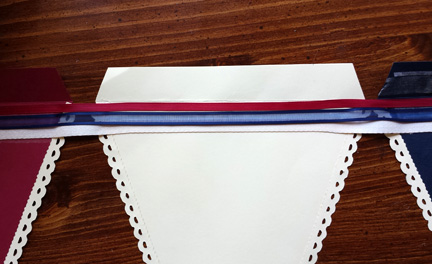
Stack two strips of 1/2″ KoolTak Premium Extreme just below the scored line to attach the ribbons to the banner points. When you finish adding one piece, add a strip of 1/2″ KoolTak Premium Extreme at the top of the banner point and fold the card stock down to secure the ribbon in place.
9. Attach your photo to the corrugated cardboard with 1/2” Kool Tak™ Premium Extreme. If you want to add more, just clip them on with tiny clothespins or small bulldog clips. They can be clipped on the only banner point without a letter or along the top of each banner point.
10. Attach a large star at each ribbon end with 1/2” Kool Tak™ Premium Extreme. Place another star of the same foiled color to the back.

This banner can really dress up the simplest party, and I plan to hang this on our deck railing for our Memorial Day barbecue. Honoring Uncle Earl will help keep us aware of the meaning of this holiday.
Here’s wishing you a day filled with remembrance of those who sacrificed so we can live free.- Candice