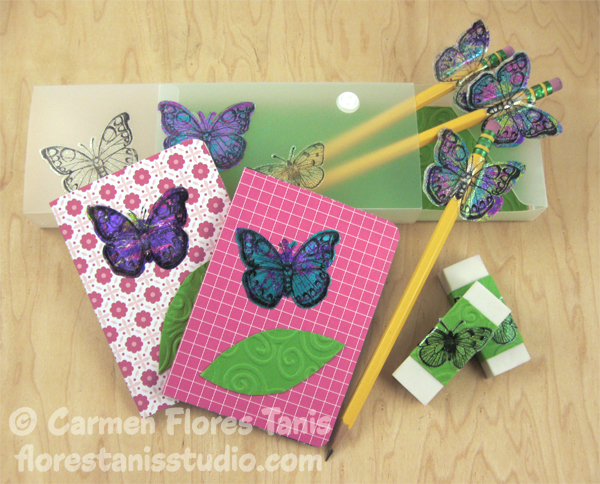
Ask kids what is the best part of going back to school and chances are they will say “Supplies”! Well, here’s a fun way for children to decorate a plain pencil box set and some mini notebooks by using Kool Tak foils and a little die cutting and rubber stamping. And although this project is pretty “girly”, it can be easily adapted for boys and adults by just changing up the choice of shapes, stamps and colors. So gather up the crafting supplies and let’s get ready for school!
Here’s how:
Materials:
Kool Tak™ Premium Extreme Tape – 2 1/2″ x 27 yards
Kool Tak™ Punch Adhesive Sheets – 4 1/8″ x 6″
Kool Tak™ Ultra Clear Tape – 1/4″
Kool Tak™ Shiny Transfer Foil Sheets – assorted colors
Kool Tak™ Sparkly Adhesive Sheet
Green card stock
Patterned papers
White erasers
Pencils
Plain pencil box with slide out drawer
Small blank notebooks
Tools:
Scissors, , Sizzix BIGkick die cut machine with Framelits die set with matching rubber stamps “Butterflies #3”, Sizzix Texture Fades Scrolls embossing folder, Staz-on black ink pad
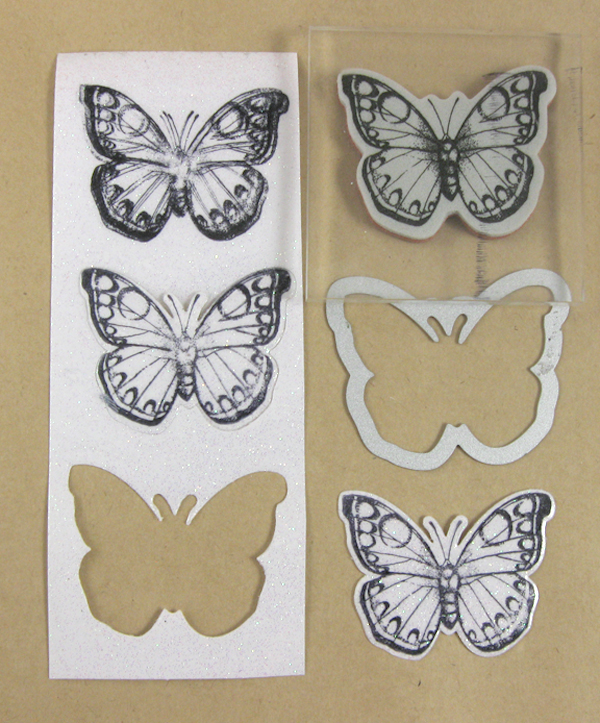
1. Use the rubber stamp and black ink pad to stamp 7 large and 3 small butterflies on the Kool Tak™ Sparkly Adhesive Sheet. Die cut the butterflies.
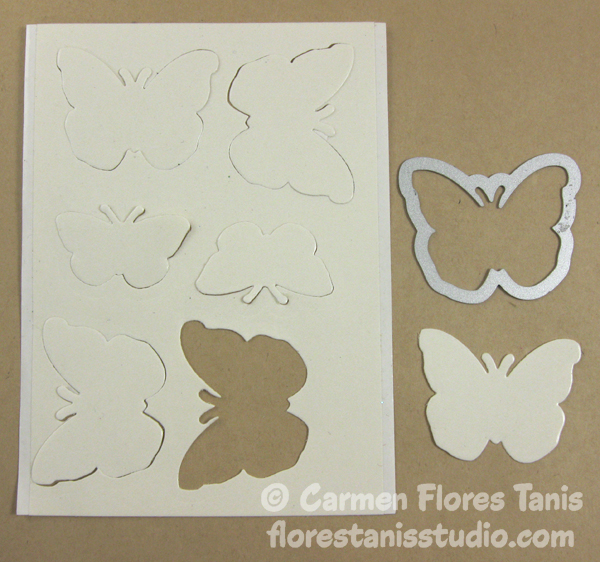
2. Die cut 3 large butterflies from a double sided Kool Tak™ Punch Adhesive Sheet (*Tip – die cut a few extra while you’re at it!)
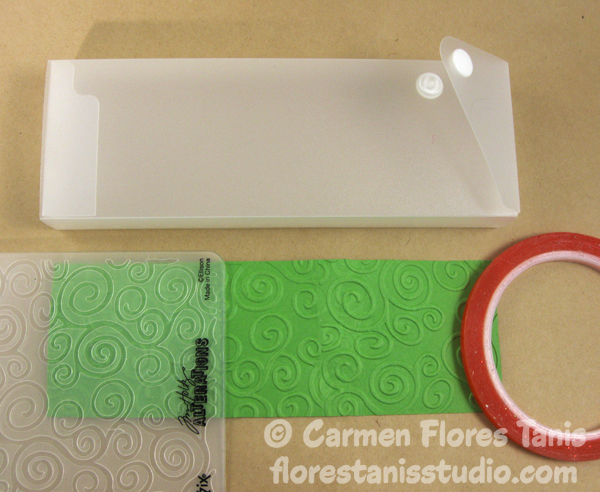
3. Cut a piece of green card stock to fit the bottom of the pencil box drawer. Add texture to the card stock by running it through the die cut machine with the embossing folder. Use strips of 1/4″ Kool Tak™ Ultra Clear Tape to adhere the card stock to the bottom of the pencil box drawer.
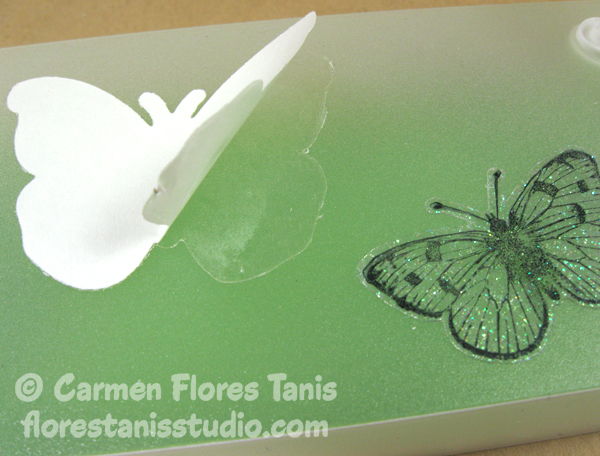
4. Peel the paper release sheet from a large and a small stamped butterfly and adhere them to the top of the pencil box. Peel the white paper release sheet from one of plain butterflies which you cut from the Kool Tak™ Punch Adhesive Sheet and adhere it to the pencil box. Burnish it down then peel away the top paper release sheet to expose the adhesive.
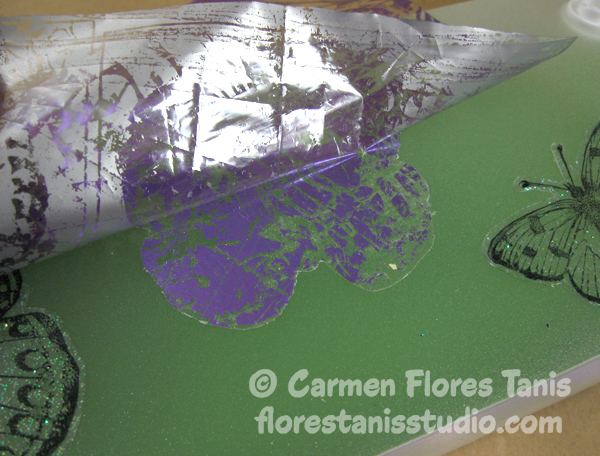
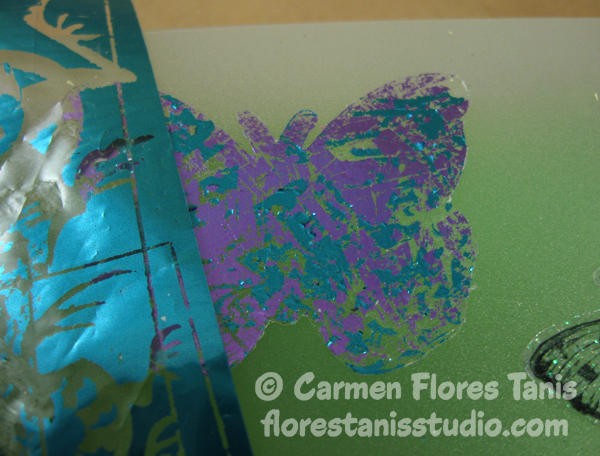
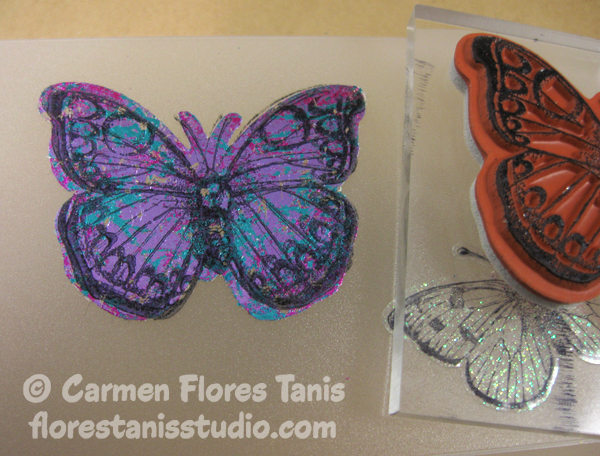
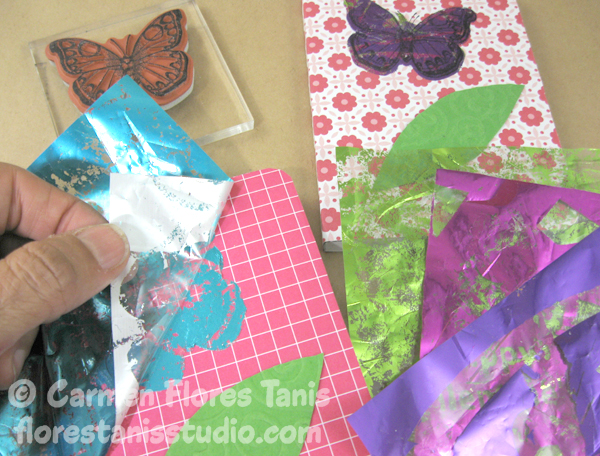
5. The foil packages of shiny transfer foil sheets come as an assortment of various colored solids and patterns and are each basically a clear plastic release sheet with a dull side and a shiny side. This next step gives you a multicolor effect and is a great way to use up the last bits of foil sheets which you might have from previous projects. Select a used foil sheet and press it shiny side up / dull side down onto the adhesive and rub gently. Lift and peel off the foil sheet. You will see that the clear plastic release sheet lifts off leaving the shiny foil adhered to the butterfly. Continue foiling the butterfly with different colors until all areas of the adhesive are covered.
6. Use the rubber stamp to add detail to the foiled butterfly.
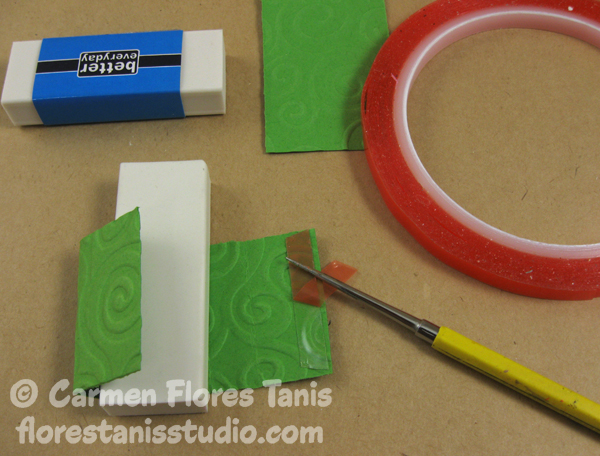
7. To decorate the erasers, cut a strip of green card stock long enough to wrap around the eraser with a 1/2″ overlap. Emboss the card stock and then use a strip of 1/4″ Kool Tak™ Ultra Clear Tape to hold the card stock together around the eraser. (**Tip – A needle tool works great to help remove the red release liner plastic from the tape.)
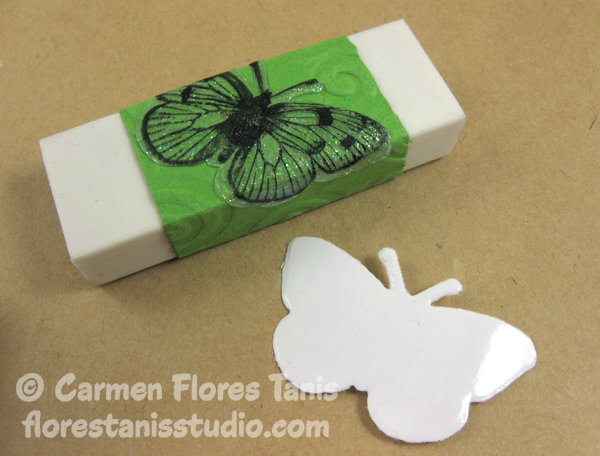
8. Peel the white release paper from a small stamped butterfly and apply it to the eraser. Repeat to make a second eraser.
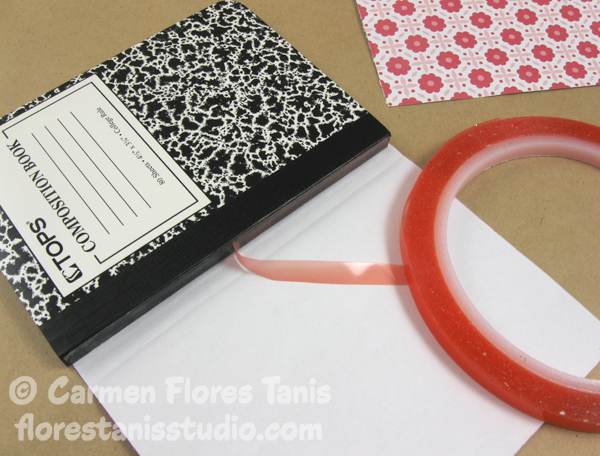
9. Cut a piece of patterned paper large enough to wrap around the notebook. Crease the paper along the spine of the notebook then flatten the paper on the table. Put a strip of 1/4″ Kool Tak™ Ultra Clear Tape along the spine of the notebook. Peel away the release liner plastic and then press the adhesive to the creased spine on the paper.
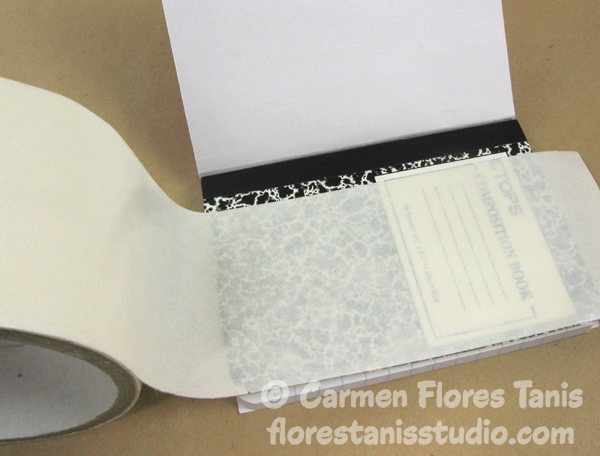
10. Cut a piece of Kool Tak™ Premium Extreme Tape to fit the front cover of the notebook. Peel away the paper release sheet then press the patterned paper onto the adhesive. Repeat for the back cover. Make a second notebook in the same way.
11. Decorate the notebooks with foiled butterflies just like you made in Steps 4 through 6. Cut leaves from the green card stock and apply them to the notebooks with pieces of Kool Tak™ Premium Extreme Tape.
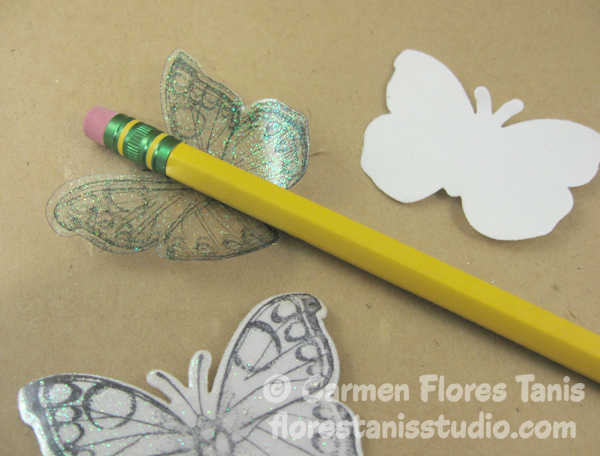
12. Take two stamped butterflies and peel away the paper release sheet from one. Attach the sticky butterfly near the top of a pencil.
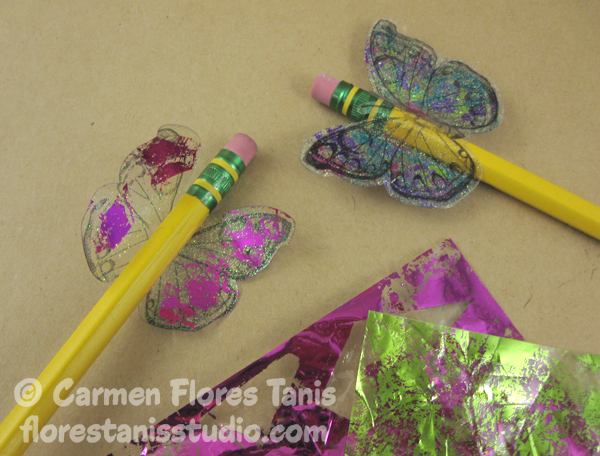
13. Add color to the butterfly with your choice of foils. Peel the paper release sheet from the second stamped butterfly and adhere it sticky side down onto the foiled butterfly, sandwiching the pencil in between. Don’t worry if you don’t align the two butterflies exactly. Just apply more foil to any sticky areas around the edges. Repeat to make two more butterfly pencils.
Easy huh?! Wouldn’t this make a fun project for a Girl Scout troop or slumber party? The possibilities are endless! Enjoy! – Carmen

