
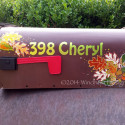
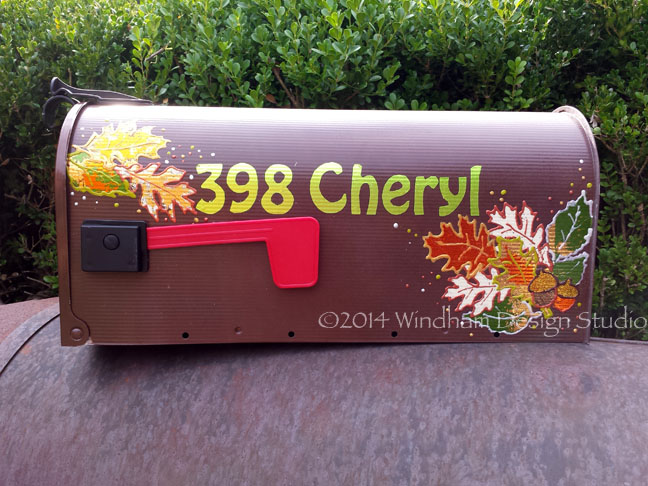
 Nothing says autumn like falling leaves. They’re fun to play in, a pain to rake, and not so pretty if you just have leaves that turn brown, but the falling leaves on this mailbox will stay pretty for a long time to come. This fun and easy DIY fancy fall leaves mailbox will be the talk of the neighbourhood!
The Kool Tak™ adhesive products I used are made to withstand heat and cold and the colors just pop from the Kool Tak™ Shiny Transfer Foil Sheets and Kool Tak™ Sparkles Glitter.
Using die cuts with Kool Tak™ Punch Adhesive Sheets turn this into a really quick and easy project. You can go from start to finish in about two hours, so let’s get to it.
Supplies
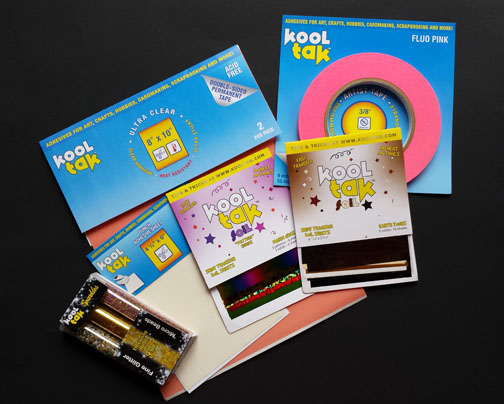 Kool Tak™ Ultra Clear Sheet, 8” X 10”
Kool Tak™ Punch Adhesive Sheets
Kool Tak™ Artist’s Tape, 1/2″
Kool Tak™ Shiny Transfer Foil Sheets, Earth Tones
Kool Tak™ Shiny Transfer Foil Sheets, Mardi Gras
Kool Tak™ Sparkles Bonus Pack, Gold
- Viva Décor Pearl Pens: Copper, Gold, Kiwi, Cream
- Sizzix Alterations Die by Tim Holtz for Ranger, Tattered Leaves
- Sizzix Big Shot
- Perfect Crafting Pouch (ScraPerfect)
- Krylon Triple Thick Glaze
- Scissors, craft knife
Instructions
1. Set the type on your computer for the address. I used Hobo Standard, 150 pt.
Tip: If you set your type to just be an outline rather than solid letters or numbers, you’ll save a lot of ink!
2. Tape the Kool Tak™ Ultra Clear Sheet centered in an 8 ½” x 11” sheet of computer paper. Dust the film (red) side with the Perfect Crafting Pouch and wipe off the excess. Be sure you get the entire piece covered to ensure good printing quality. Print the address and trim out the letters and numbers.
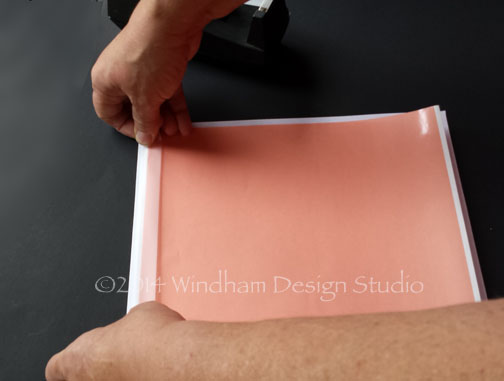
Tape the KoolTak™ Ultra Clear Sheet to a piece of computer paper.
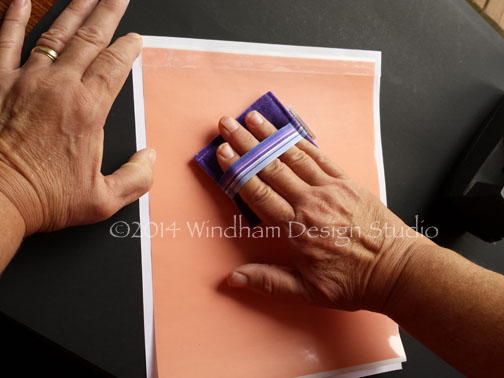
Dust the release vinyl with the Perfect Crafting Pouch to help adhere the ink to the film. Dust off the excess.
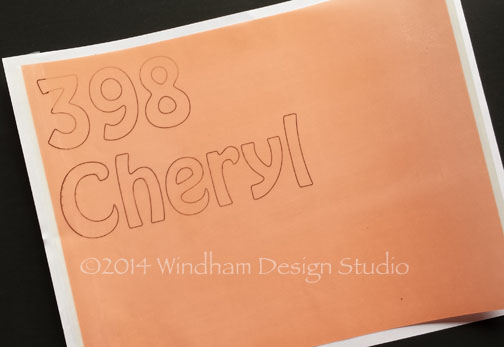
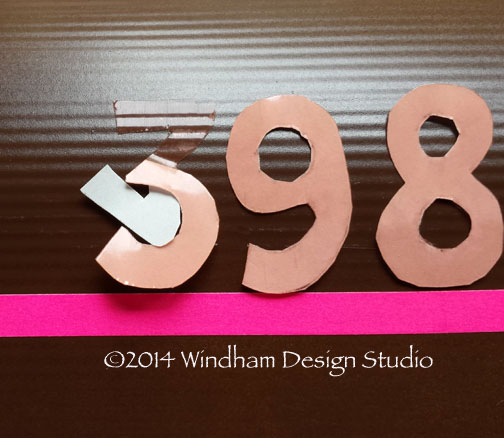
Print you address and trim out the letters.
3. Place a line of Kool Tak™ Artist’s Tape on the mailbox as a guide for straight lines and apply the letters and numbers. If you are using a ribbed mailbox like the one in the sample, don’t be fooled. The lines aren’t always straight, so use a ruler and place the tape approximately 4 ¼” from the bottom edge. Be sure to keep the address above the area where the flag folds down.
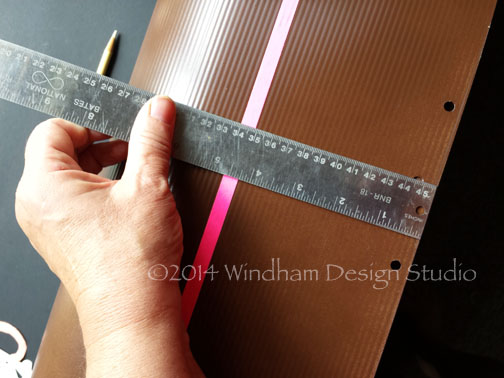
Measure up from the bottom approximately 4 1/4″ and place a strip of KoolTak™ Artist’s Tape as a guide for your letters.
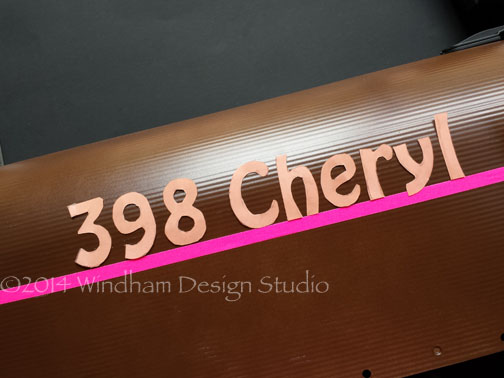
Line up the letters before adhering to make sure the address is where you want it.
Tip: In order to get your letters straight, peel down the top half of the release paper, line the letter up on the guide, then press it down and remove the rest of the sheet.
4. Remove the release film and apply the foil to the address. One sheet will do the entire address unless you have a long street name.
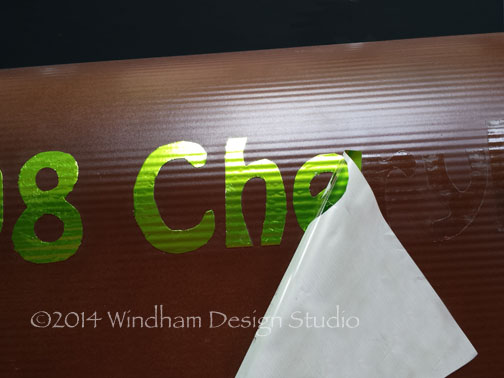
Apply the foil to the letters. If you have an empty space, just press the foil down again.
5. Die cut the leaves from the Kool Tak™ Punch Adhesive Sheets. Arrange the leaves on the top left and lower right on the box. Attach and add Kool Tak™ Shiny Transfer Foils to the leaves on the bottom layer first, removing the release papers one at a time. If you have any adhesive areas that are bare, just apply more foil.
Tip: For two-toned leaves, touch the leaf edges with foil sheets in one color and the remaining area in another foil color. Old partially-used foil sheets are great for this technique because they add wonderful texture. You definitely get your money’s worth with KoolTak™ Shiny Transfer Sheets.
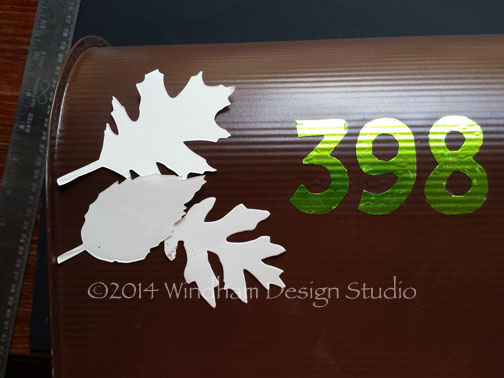
Arrange leaves in a pleasing pattern before you adhere them to the box.

Apply the background leaves first.
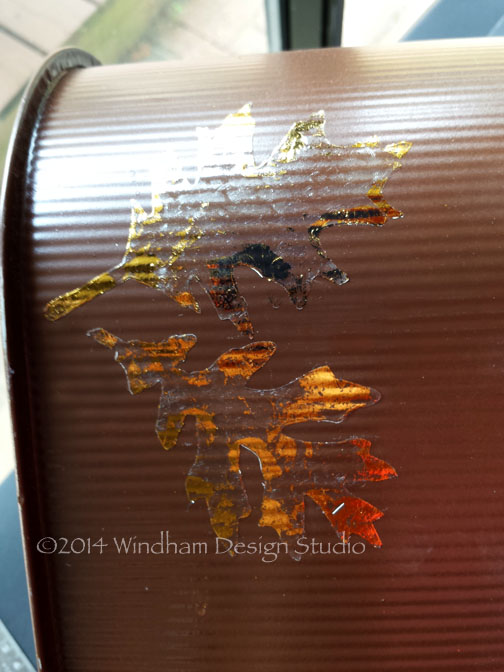
Apply foil to background leaves. For added texture, touch one color foil to the edges and randomly across the leaf, then apply a different color on top.
6. Draw acorns on scraps of Kool Tak™ Punch Adhesive Sheets or Kool Tak™ Ultra Clear Sheet. Cut them out with scissors and separate the cap from the lower portion of the acorn. Apply the cap to the box, remove the release paper or film and add Kool Tak™ Sparkles Gold glitter. Add the lower portion and use foils for the color.

Save your scraps. You’ll always find a use for them, whether it’s a large project or just holding a small embellishment on a scrapbook page. I drew the acorn shapes on this scrap and cut them out with scissors.
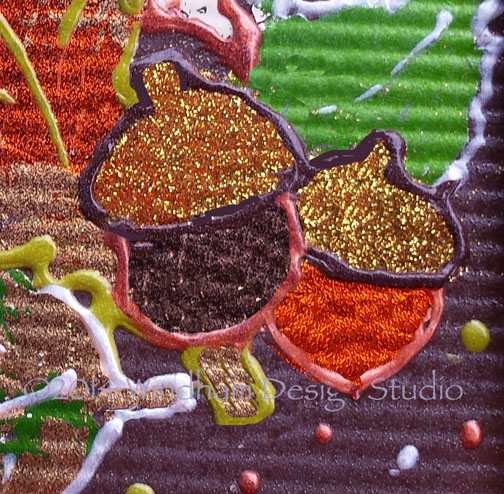
Add Kool Tak™ Sparkles Glitter to the acorn tops ans use Kool Tak™ foils for the acorn bottoms.
7. Outline each element with Viva Décor Pearl Pens. When the outlines are dry, spray the entire piece with Krylon Triple-Thick Glaze to protect it from scratches.
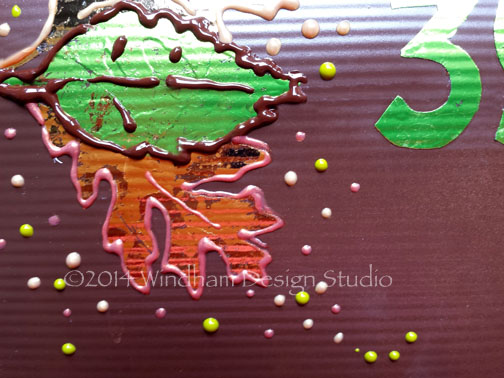
Outline each element with Viva Décor Pearl Pens and add small dots in all the colors around the leaves.
Place your new mailbox out for your whole neighborhood to admire and then start planning three more for the remaining seasons. They’re so quick (two hours max) and easy, you’ll want to make them for your friends and family. (Can you say 98 days until Christmas?)
And as we say here in the south, happy fall, y’all!