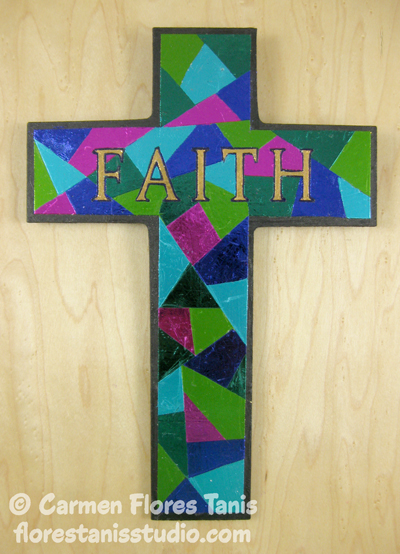
One of my favorite things in the world is stained glass. The sight of white light flooding through a stained glass window, making puddles of color on the adjoining floors and walls always makes me happy. Thus inspired, I came up with this easy project for a foiled wood cross which combines the patchwork look of stained glass with the ease and vibrancy of Kool Tak™ Shiny Transfer Foil Sheets. And now this pretty cross will be a lovely addition to my collection of crosses, adding a burst of color and shine all without having to cut glass!
Materials:
Kool Tak™ Ultra Clear Adhesive Sheet – 8” x 10”
Kool Tak™ Shiny Transfer Foil Sheets – “Mardi Gras”, “Summer Blooms”, “Vintage” packs
Wood cross
Picture hanging loop
Black acrylic paint
Tools:
Electronic die cutting machine, needle tool, kraft knife and cutting mat, paint brush, ruler, adhesive tape
Instructions:
1. Paint the wood cross with black acrylic paint and set aside to dry.
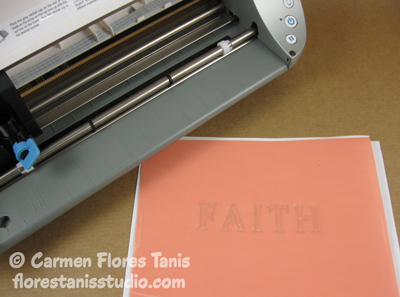
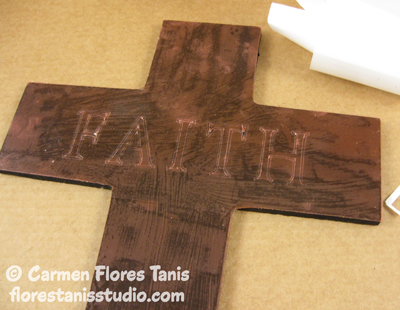
2. Type and size the word “FAITH” to fit the wood cross in the graphics program of your particular electronic die cutting machine. (Add a thin border outline around each letter for a nice effect.) Feed the Kool Tak™ Ultra Clear Adhesive sheet into the machine and adjust the cutting settings so that the blade will cut through the pink plastic release sheet and adhesive layer but not through the white paper release sheet. (If you are not using an electronic die cutting machine, you can use stencils and a permanent marker to draw the letters on the Ultra Clear sheet and then cut them out with a kraft knife.)
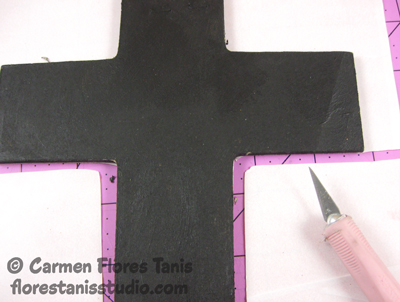
2. Line up the Ultra Clear sheet on the front of the wood cross so that the letters are centered. Use a little adhesive tape to hold the Kool Tak™ Ultra Clear Adhesive sheet in place. Flip the wood cross and Kool Tak™ Ultra Clear Adhesive sheet onto the cutting mat and use a kraft knife to cut around the outside of the cross. (Keep the extra pieces of the Kool Tak™ Ultra Clear Adhesive sheet for another project!)
3. Peel the white paper release liner from the Kool Tak™ Ultra Clear Adhesive sheet and adhere it to the front of the wood cross. Smooth down well.
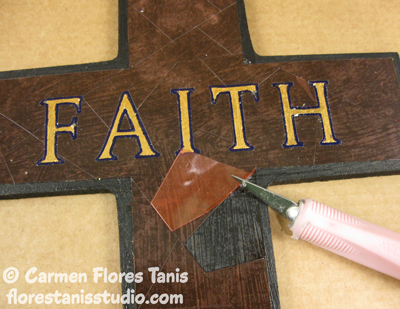
4. Use a ruler and the kraft knife to remove 1/4″ of the Kool Tak™ Ultra Clear Adhesive sheet from the perimeter of the cross. This will give the wood cross a pretty black border.
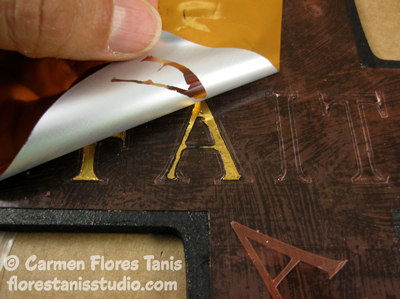
5. Starting with the letter “F”, use the needle tool to remove the pink release liner from the inside area to expose the adhesive. Place a sheet of gold foil, dull side down, onto the letter and rub well. Lift and peel off the foil sheet to see the golden letter! Repeat for all the letters. Next, remove the pink release liner pieces over the border outline areas around each letter and apply dark blue foil as above.
6. Use the kraft knife and ruler to divide the background areas of the Kool Tak™ Ultra Clear Adhesive sheet into rectangular and triangular shapes. Remove one piece of pink release liner and apply foil. Repeat with the remaining areas of the Kool Tak™ Ultra Clear Adhesive sheet alternating foil colors for a patchwork effect.
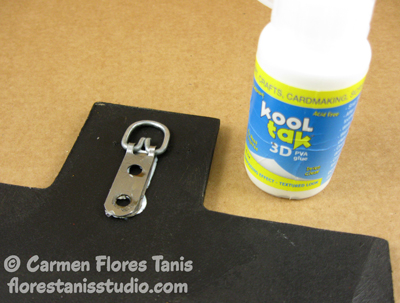
7. Finish up by attaching the picture hanging loop to the back of the wood cross with a little piece of the Kool Tak™ Ultra Clear Adhesive sheet or some PVA glue.
You can easily customize this project by using your favorite colored foils and using different text. Wouldn’t a trio of crosses with the words “Faith”, “Hope” and “Charity” look lovely grouped together on a wall? Try using this technique on other wood shapes too! Once you start playing with Kool Tak™ Shiny Transfer Foil Sheets you’ll want to add shine and color to everything in the house! Thanks for stopping by! – Carmen

