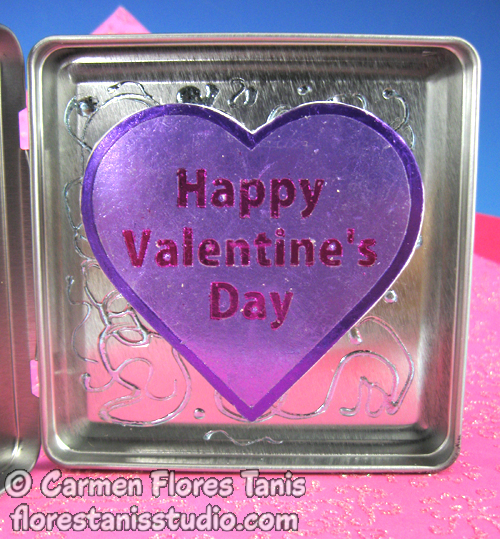
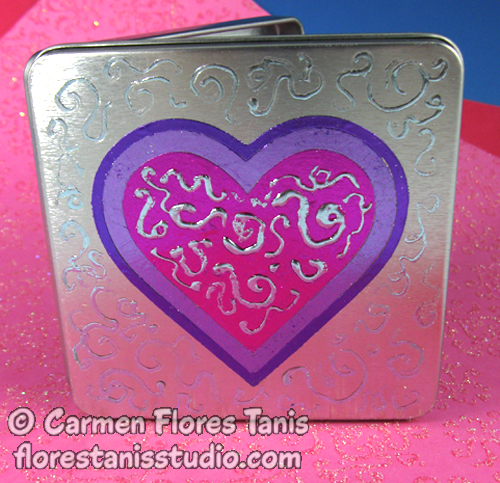
Valentine’s Day cards are the perfect way to send a cheery note to a favorite someone. And who doesn’t love getting a little note from a friend or sweetheart? I know I do! So to get ready for this year’s Valentine’s Day, I made this little mixed media card from a hinged tin and decorated it with fun Kool Tak foils and adhesives. You’ll see how adding pewter foil scribbles makes the tin look almost hammered. It’s a simple technique that adds a lot of interest to a plain surface. This is an easy project and once you make the first one you’ll be hooked on Kool Tak foils. Valentine’s cards for everyone!
Here’s how:
Materials:
Kool Tak™ Ultra Clear Adhesive Sheet – 8” x 10” (1)
Kool Tak™ 3D Round Adhesive Foam Pads – 3/8” diameter x 1/16″ thick
Kool Tak™ 3D PVA glue with fine tip
Kool Tak™ Shiny Transfer Foil Sheets – “Carnival”, “Summer Blooms” packs
Hinged metal tin – (available at craft stores and here)
Foam Core
Tools:
Electronic die cutting machine, needle tool, kraft knife and cutting mat, scissors
Instructions:
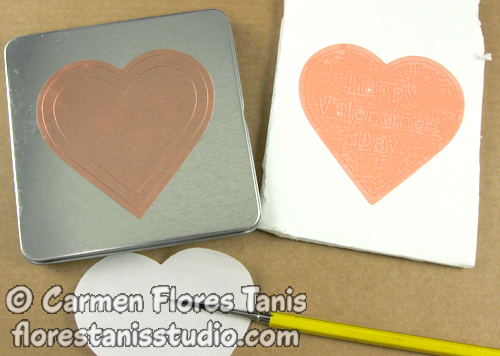
1. Create and size your artwork to fit your metal tin in the graphics program of your particular electronic die cutting machine. Make one solid heart and one heart with text – each with a border. Feed a sheet Kool Tak™ Ultra Clear Adhesive into the machine pink side up and adjust the cutting settings so that the blade will cut through the pink plastic release sheet and adhesive layer but not through the white release paper sheet. (If you are not using an electronic die cutting machine, you can use stencils and a permanent marker to draw your shapes on the Ultra Clear sheet and then cut them out with a kraft knife.)
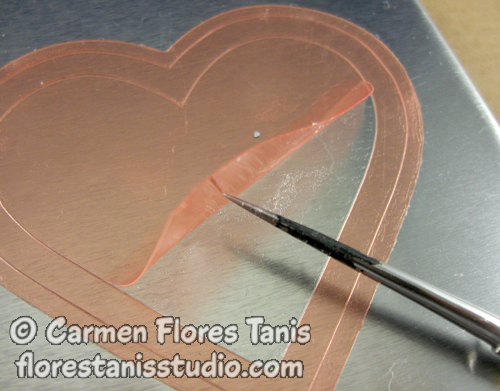
2. Peel the white release paper sheet from the solid heart and apply the heart to the lid of the metal tin. Press down. Adhere the text heart to a piece of foam core. Press down.
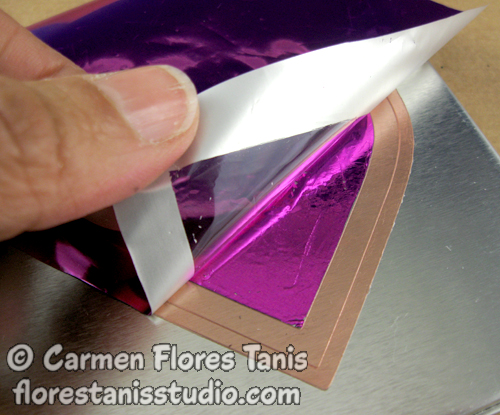
3.Use the needle tool to remove the clear pink release sheet and expose the adhesive in the inner area of the solid heart on the metal tin. The foil packages of shiny transfer foil sheets come as an assortment of various colored solids and patterns and are each basically a clear plastic release sheet with a dull side and a shiny side. Select a magenta foil sheet and press it shiny side up / dull side down onto the adhesive and rub well. Lift and peel off the foil sheet. The clear plastic release sheet lifts off leaving the shiny foil adhered to the heart. Repeat with the remaining adhesive areas of the solid heart. (**Tip – You can use every little bit of the foil transfer sheet until all you have left is the clear release sheet.)
4. Use the kraft knife along the outside edge of the text heart to cut it from the foam core. Apply foils as in step 3.
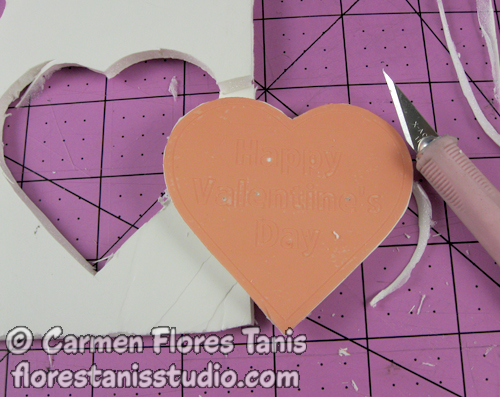
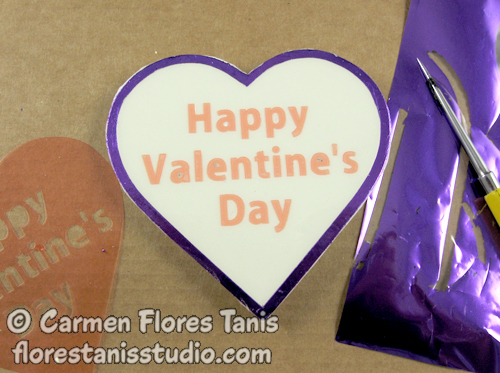
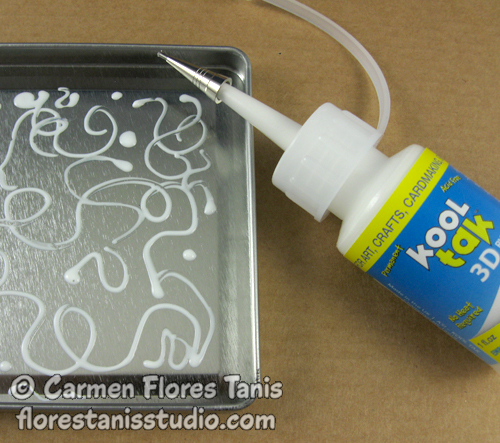
5. Fit the fine tip on the 3D PVA glue bottle. Squeeze the bottle gently as you draw squiggles on the inside and front lid of the metal tin. Let the glue dry until it turns clear.
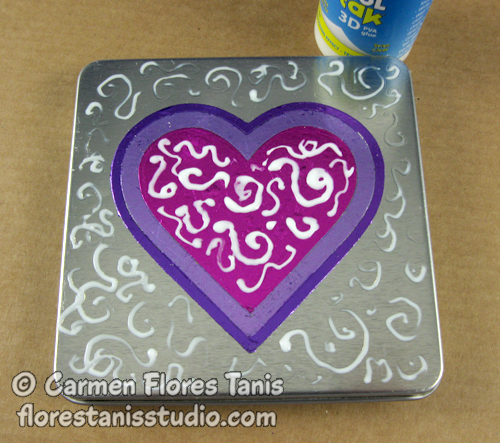
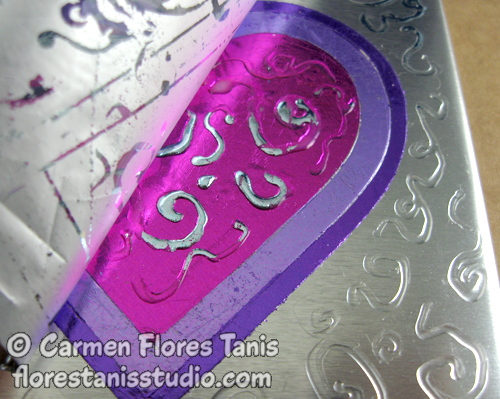 6. Apply pewter foil to the glue and rub well. Peel off to reveal 3D detailing.
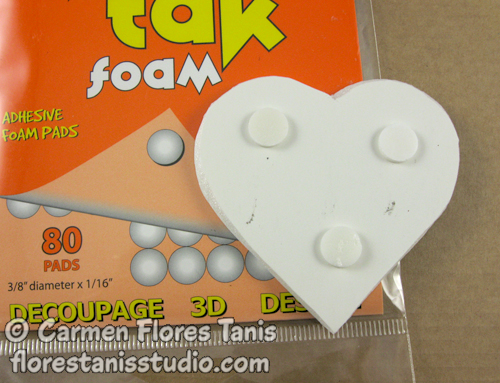 7. Finish up by adhering the foam heart to the inside of the tin with three round foam pads.
The fun thing about this project is that you can change it up with different colors, text and even personalize it by adding a photo or writing a little note on the inside lid with the 3D PVA glue. Try it for other occassions too – like birthdays or tuck in a gift certificate. It’s super cute and full of love! Enjoy!!
