
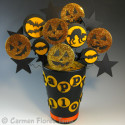
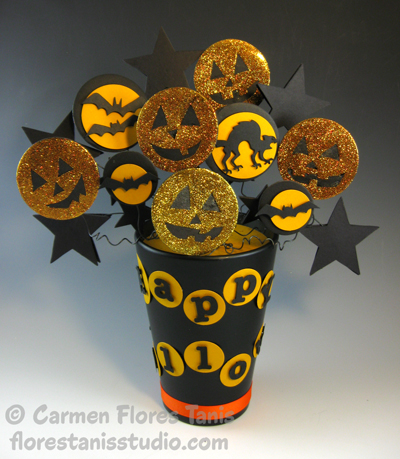
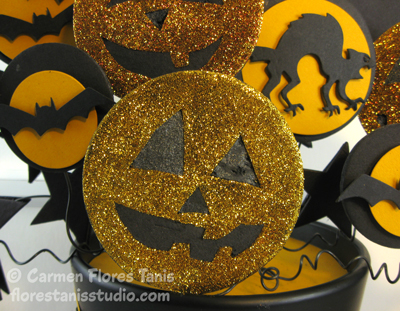
I think of all the holidays Halloween and the days preceding it are my favorite. The weather is cool by then, the evenings are darker earlier and houses are decorated in all sorts of clever ways. I always like to make a fun centerpiece to welcome Halloween and Kool Tak™ adhesives and glitters are perfect for this. This centerpiece is all about contrasts: the matte finish of the ceramic vase plays beautifully against the sparkle of the Kool Tak™ glitters while the round shapes of the pumpkins are a nice contrast to the spiky stars. This cheery (and just a little spooky) centerpiece will help you celebrate Halloween all month long!
Materials:
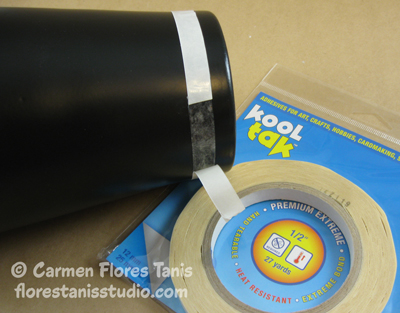
Kool Tak™ Premium Extreme Double-Sided Tape – 1/2″ x 27 yds
Kool Tak™ Premium Extreme Double-Sided Tape – 2 1/2″ x 27 yards
Kool Tak™ Clear Adhesive Sheet – 8” x 10” (1)
Kool Tak™ 3D Black Foam Pads 3D Effect – 1/4″ x 1/4 ” x 1/16″ thick
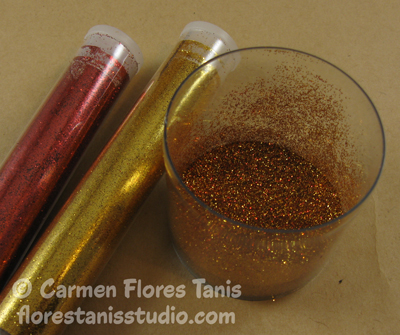
Kool Tak™ Sparkles Bonus Packs – Gold, Red
Kool Tak™ ATS-50 Tape Dispenser Gun loaded with ATS Clear Transfer Tape – 1/2″ x 36 yards
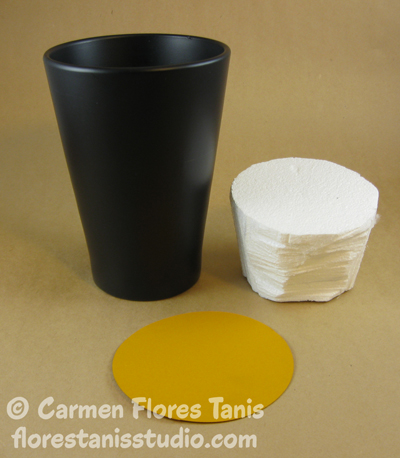
Black Vase
Smoothfoam™ block – to fit inside your vase
Black foamcore (make sure it has a black core)
Black chipboard – 12” x 12”
Construction paper – orange, black
Ribbon – orange
Black wire – 18 gauge
Tools:
Hot wire foam cutting tool, heavy duty wire cutters, knitting needle, kraft knife / mat, scissors, black paint pen, brush, die cut machine with dies – circles (including a 3” one), bats, stars, scaredy cat, alphabet, plastic container for mixing glitter, tray to catch glitter
Instructions:
1. Trim the Smoothfoam block with the hot wire foam cutting tool to fit snugly inside the vase.
2. Cut a large circle out of orange construction paper to fit on top of the Smoothfoam block.
3. Adhere a strip of Kool Tak™ Premium Extreme Double Sided 1/2” Tape around the vase about 1/2” from the bottom. Peel the release tape and adhere a piece of orange ribbon.
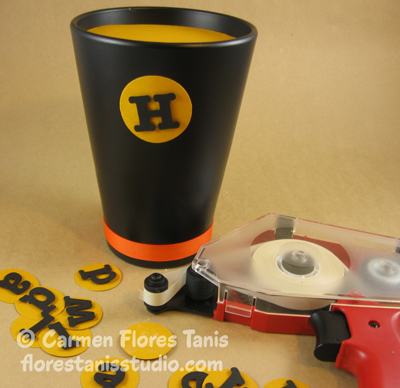
4. Use the die cutter and alphabet dies to cut out the words “Happy Halloween” using black construction paper. Then use the circle dies to cut out thirteen circles out of orange construction paper. Make the circles just a little bigger than your letters. For a fun pop-up 3D effect, use Kool Tak™ 3D Black Foam Pads to adhere each letter to a circle. **Tip – when applying the tiny foam pads, use the tip of your kraft knife to spear a single pad from the large sheet. Apply the pad to your object then spear the pad again to remove the white release sheet and expose the adhesive.

5. Adhere the letters to the black vase with the Kool Tak™ ATS-50 Tape Dispenser Gun and ATS Clear Transfer Tape. I used the double sided Transfer Tape because I wanted the orange circles to stick flat to the vase and this tape works great for adhering paper to ceramics!
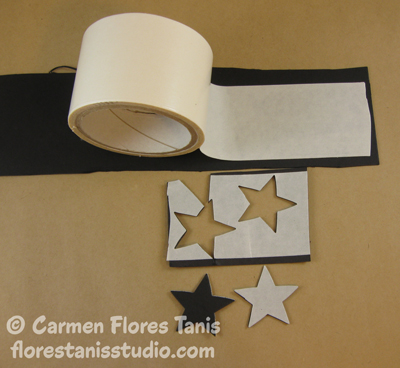
6. Adhere a strip of Kool Tak™ Premium Extreme Double Sided 2 1/2” Tape to a piece of black chipboard. Leave the white release sheet in place for now. Run it through your die cutter with a star die and cut out ten small stars and ten large stars. Set the stars aside. (Note – although you certainly could use Kool Tak™ Clear Adhesive Sheets for this part, I used the Kool Tak™ Premium Extreme Double Sided 2 1/2” Tape just because with so many star shapes it is a little more economical for this step.)
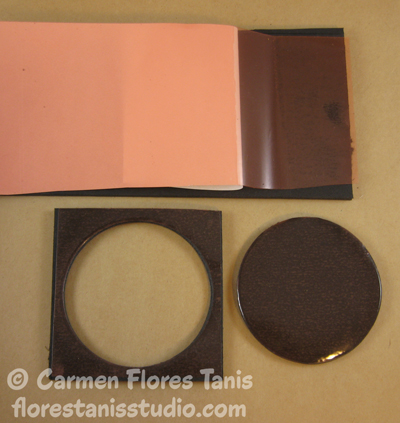
7. Cut a 3” strip from the Kool Tak™ Clear Adhesive Sheet. Peel back the white release sheet and adhere the exposed adhesive to a piece of black foam core. Run this through your die cutter with a circle die to cut five 3” circles. Leave the pink release sheet in place for now.
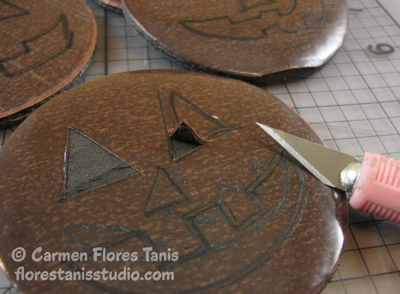
8. Use the black paint pen to draw a pumpkin face on each of the five foam core circles. Then following the drawn lines, use the kraft knife to cut the Kool Tak™ Clear Adhesive Sheet. You don’t have to cut all the way through the foamcore – just enough to pierce through the pink plastic sheet and the adhesive below. Use the tip to the kraft knife to pull away the eyes, nose and mouth pieces. Peel away the adhesive under the pink sheet so that it actually rips away a bit of the black foam core.
9. To make a nice orangey glitter, mix about a tablespoon each of the gold and red glitters from the Kool Tak™ Sparkles Bonus Packs in a little container. Shake to mix.
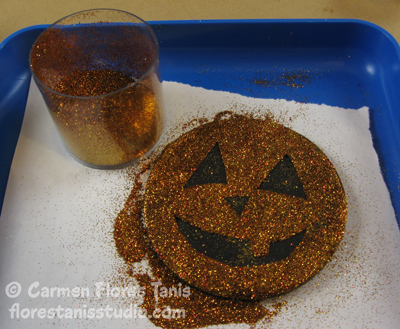
10. To keep things nice and neat, put a pumpkin foam core circle on a little tray and peel away the pink release plastic sheet to expose the adhesive. Sprinkle with the orangey glitter. Press down on the glitter with your finger so that it adheres well then tap away the excess glitter. Repeat for the remaining pumpkins. **Tip – put a piece of paper on the bottom of your glitter tray before you start glittering. Then when you’re done, pick up the paper carefully and use it to funnel the glitter back into the container.
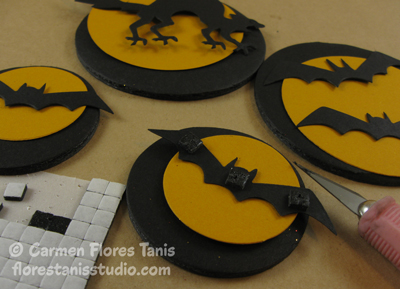
11. Use the die cutter and circle die to cut four small circles from the black foam core. Cut four orange construction paper circles just a little smaller than the four black foam core circles. Use dies to cut a few bats and cats from black construction paper. Adhere the bats and cats to the orange circles with Kool Tak™ 3D Black Foam Pads. Then use the Foam Pads again to adhere the orange circles to the black foam core circles.
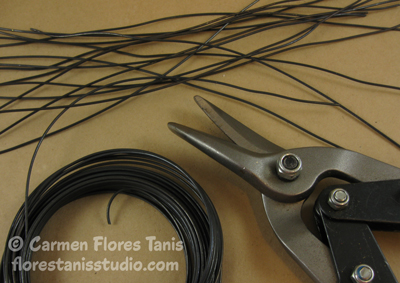
12. Cut fourteen 12” lengths of wire with the heavy duty wire cutters. Don’t worry about making the wires supper straight.
13. Take one wire and twist it around the knitting needle a few times to add a decorative little spring. Do that on nine wires. These will be for the pumpkin foam core circles and the bat/cat circles. Add a little dab of Kool Tak™ 3D PVA glue to a wire and poke it into one of the pumpkin shapes. Repeat with the remaining curly wires so that each pumpkin and cat/bat has a stem.

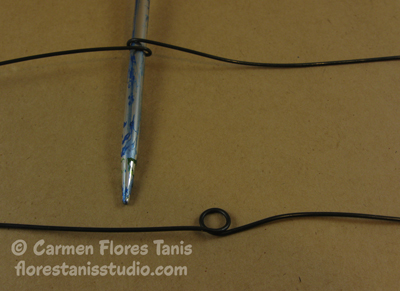
14. For the last five wires, bend one end of each one into a “J” shape. Then twist the middle of each wire around the knitting needle to make a little loop. This will help keep the stars in place.
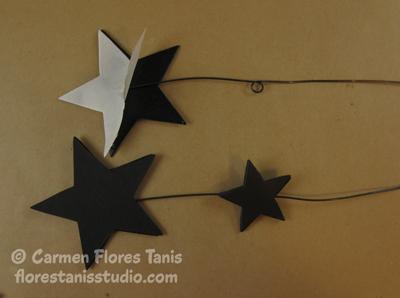
15. Peel the white release sheet from one large star and adhere it to the end of a “J” shaped wire. Add another large star to sandwich the wire in between. Do the same with two small stars on the little loop in the middle of the wire. Repeat for all five wires.
16. Poke all the wire stems, one by one, through the orange construction paper and into the foam inside the vase. Arrange to your liking. That’s it! Happy Halloween.
I have the batman song in my head now! This wold be great for any holiday centerpiece! TFS!
Hi Rita! I’m so glad you like it. Now I’ve got the batman song in my head too!
Love this project… so fun for Halloween!
Hi Debbie! Thank you! Happy Halloween!