


It’s already September and the holidays are right on us. Before long, we’ll hear the sounds of jingle bells, and my favorite local radio station will play continuous holiday music. I can hardly wait!
But right now, we are just beginning to ease into fall, and this cute little wreath, which has only three elements that are NOT made by Kool Tak™, is quick and easy. I was really impressed with all the Kool Tak™ supplies that could be used in so many ways. I also added a little twist on the ribbon in this project, so grab your Kool Tak™ supplies and read on!
Supplies
Kool Tak™ Ultra Clear double sided tape, 1/2″ (36″)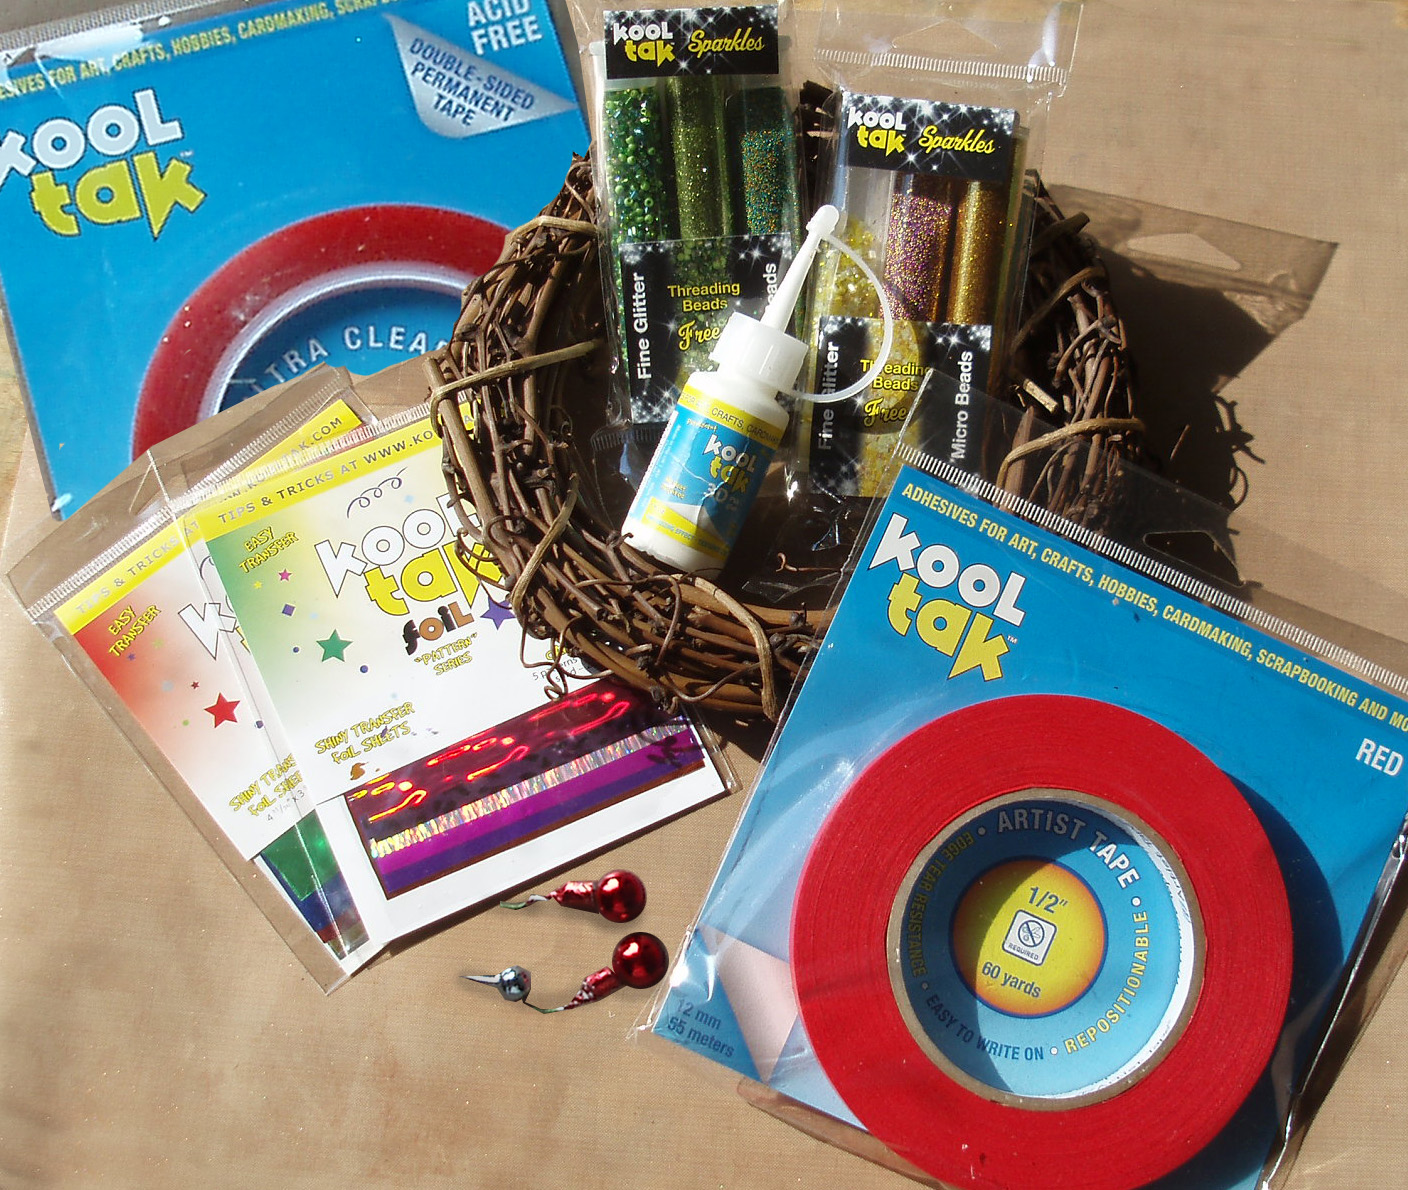
Kool Tak™ 3D Glue for Embossing Effect
Kool Tak™ Sparkles Bonus Pack, Green
Kool Tak™ Sparkles Bonus Pack, Gold
Kool Tak™ Shiny Transfer Foil, Holiday Colors
Kool Tak™ Shiny Transfer Foil, Carnival
Kool Tak™ Artist Tape, Red, 1/2″
Grapevine Wreath, 6″
Krylon Triple Thick Clear Glaze
Found Objects: Assorted dried leaves, small round 1/2″ holiday ornaments (2) and a ball-topped pushpin (1)
Tools: Scissors, small stapler
Instructions

1. Spray all leaves with two coats of Triple Thick Glaze and set them aside to dry. I used leaves from my yard, but you could also use silk leaves or leaves cut from paper or fabric from a die-cutting machine.
2. Using the Kool Tak 3D Glue, outline leaf edges and veins on several leaves and set them aside to dry. When the glue goes completely clear, apply gold and copper foils, grey side down.
3. Completely coat three leaves with 3D Glue and cover them with Sparkles Gold glitter and Sparkles Gold microbead mix, while the glue is wet and white. You can use a small paintbrush or your fingers to spread the glue. Set aside to dry completely i.e. an hour or so to be sure. Then, apply 3D Glue to veins of three other leaves and apply Sparkles Green and Gold glitter. Set aside to dry.
4. Apply 3D Glue to the ornaments and push pin. Cover them with Sparkles Green and Gold glitters. Set aside to dry.

Apply foil to the sticky side of the Artist Tape.
5. Apply copper foil to sticky side of Red Artists Tape. If it doesn’t quite cover all the surface the first time just press it on again. It will only stick where there is exposed adhesive.
Assembly
1. Wrap 24″ of the foiled Artist Tape around the wreath, securing the ends together with Ultra Clear double sided tape.

Wrap the foiled tape around the wreath.
2. Place a small amount of 3D Glue on each leaf and adhere them to the wreath, larger leaves in back and smaller in front.
3. Shape remaining foiled Artist Tape into a double loop bow and staple in center. Wrap a small piece of foiled Artist Tape around to cover the staple and secure with Ultra Clear. Attach the bow to the wreath with 3D Glue.
4. Dip the ends of the ornaments and push pin in 3D Glue and apply them to the bow center.
This quick and easy project could also be used as a candle ring for your Thanksgiving table. Make two additional candle rings in different sizes for a really impressive centerpiece or hearth decoration.
Wishing you a wonderful, cool fall! – Candice