One of the great things about social media is the opportunity to connect with kindred spirits who think like we do, and one of the best ways is through artists’ swaps. It can be canvas art, paper art, mixed media art, the choice is up to you.
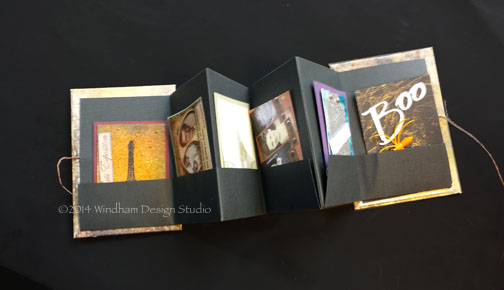
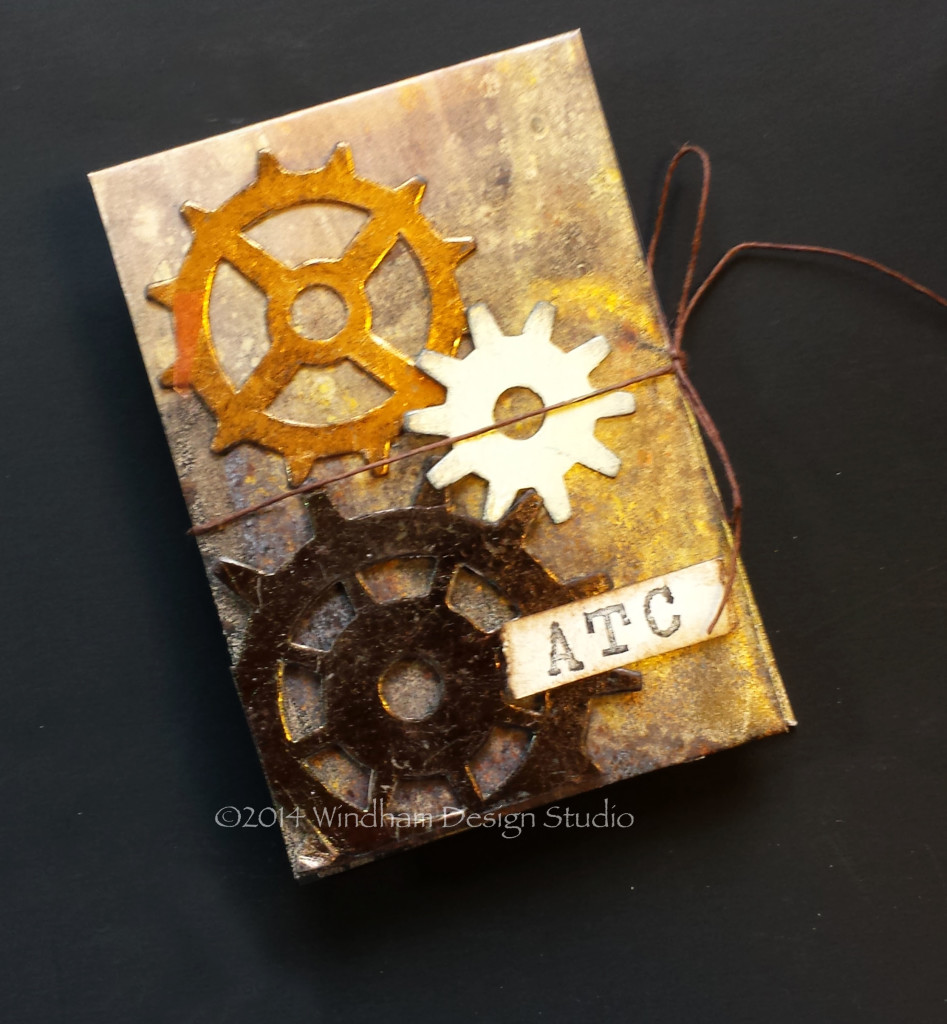
This book holds six Artist Trading Cards , but it can be expanded to hold more. You could also use it for business cards or photos.
I prefer swaps that are small and don’t take up a lot of room, but still reflect the artist’s style. The simple solution is Artist Trading Cards (ATCs) which are limited to a 2.5″ x 3.5″ working space.The beauty of these cards is that you can’t sell them, only trade them, and you wind up with a little piece of art from your social media or club friends.
This little book is designed to hold six ATCs, but it can also be used to hold photos from a special trip or even business cards you don’t want to lose. You can add additional inner panels if you need more by attaching another accordian-folded sheet.
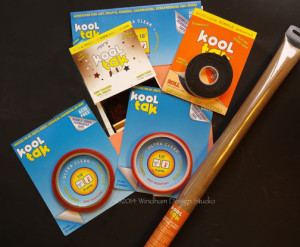
By using the strong holding power of Kool Tak™ Ultra Clear sheets and tapes and adding great embellishments with Kool Tak™ Foils, you can make this book look terrific and be sure that it will hold together for the long haul.
The book cover paper is made with a cool technique using national Geographic magazines and CitraSolv Concentrated Cleaner. I’m attaching a pdf file (citrisolv) with basic instructions.
Here are some websites and videos on this technique that you may find helpful:
http://www.citrasolv.com/art/index.html
http://artistsjournal.wordpress.com/2010/11/26/my-citra-solv-experiments/
http://christopherstaples.wordpress.com/techniqueshow-tos/
Now, here’s how I made this one:
Supplies
Kool Tak™ Ultra Clear Sheets, 8″ x 10″
Kool Tak™ Ultra ClearTape, 1/2″
Kool Tak™ Ultra ClearTape 1/4″
Kool Tak™ Decoupage 3D Foam Tape, black
Kool Tak™ Foils, Earth Tones
Kool Tak™ Non-stick Reusable Crafting Sheet
Card Stock, Black, 12″ x 12″
Chipboard, 2 sheets 8 1/2″ x 11″
Bone Folder or cutter with scoring blade
Sizzix Big Shot
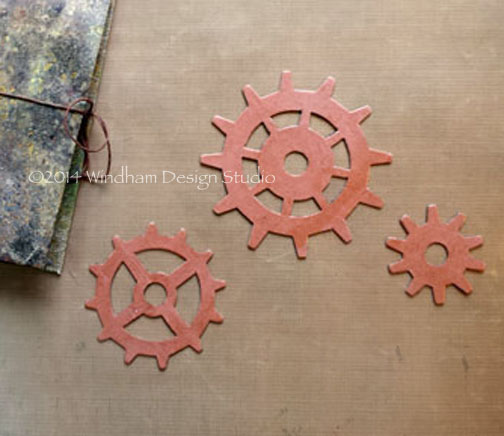
Die cut, Gadget Gears (Tim Holtz Alterations)
Tim Holtz Distress Ink, Vintage Photo
Stazon Ink, Jet Black
Hemp cord, 24″, cut to 8″ and 16″
Small alphabet stamps
Scissors, triangle or ruler, craft knife, sponge
Directions
Cover
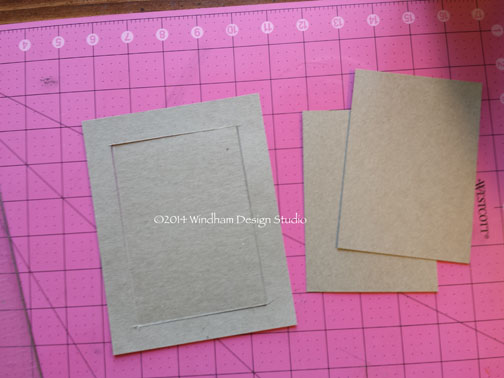
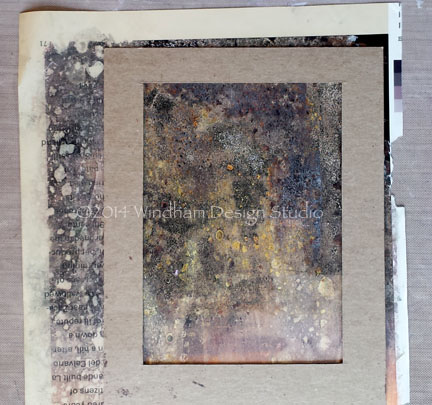
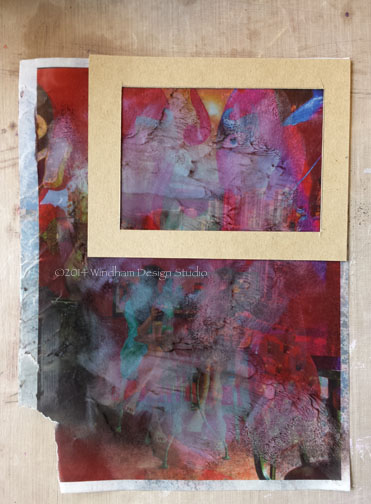
Cut two covers from chipboard, 3 1/2″ x 5 ” and cut one piece 5″ x 61/4″. Use one of the cover pieces to place in the center of the larger chipboard piece and trace around the outside of the cover piece. Trim the center out with a craft knife to create a template for your cover papers.
Cover your work space with Kool Tak™ Non-stick Reusable Crafting Sheet
Use the chipboard template to select the portion of the paper you want for your book covers.
NOTE: Using a template like this is a great way to see things easier. You can even use these abstrations to create larger paintings. Just cut a template that is in proportion to your surface. For instance, a 24” x 36” canvas could be created from a template with a 4” x 6” opening.
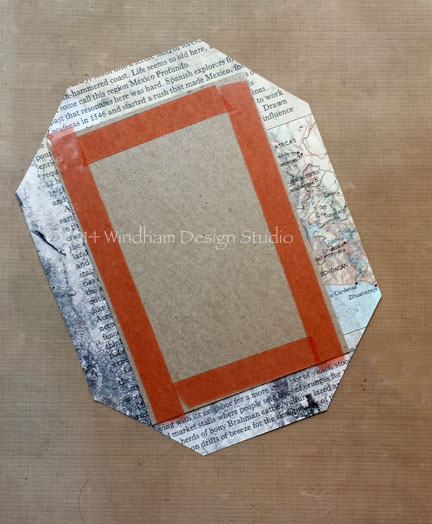
Draw a line around the outside of the template and trim.
Attach the cover to the chipboard. Trim the corner s at a 45° angle, leaving approximately 1/16″ at each corner.
Apply the 1/2″ Kool Tak™ Ultra Clear to the chipboard.
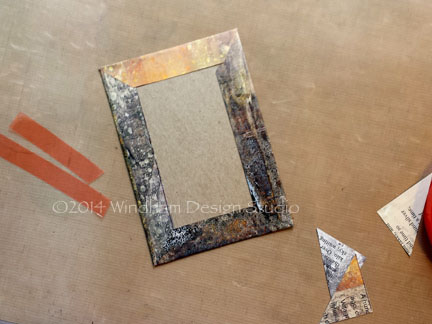 Fold the cover papers over the Kool Tak™ Ultra Clear 1/2″ Adhesive. Repeat for the back cover.
Book Inside
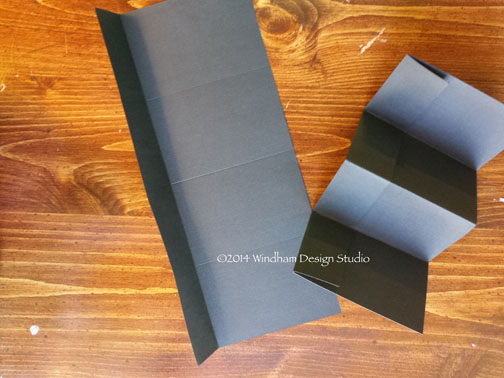
Cut the 12″ x 12″ sheet of card stock to 6″ x 12″. Score one long edge on each piece at 1 3/4″. Fold up each piece, the score the width every 3″ to make four pockets on each piece.
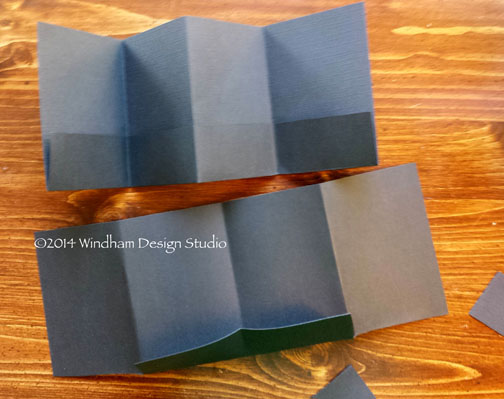 Set one piece aside, then cut the pocket fold off the first and last sections of the second piece.
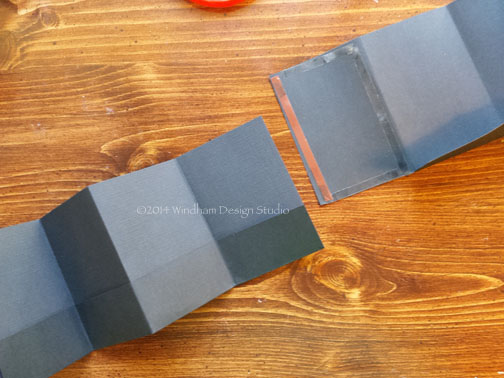 Attach Kool Tak™ Ultra Clear 1/4″ tape around the left section of the second piece of card stock with no pocket.
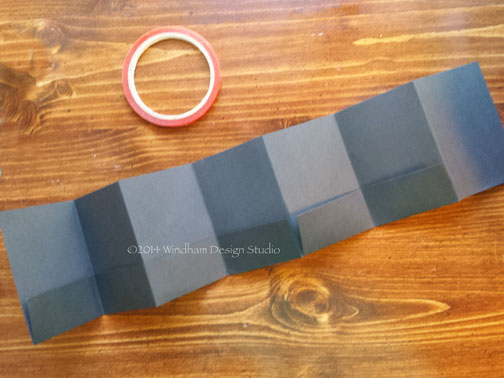 Attach the left end behind the last pocket on the first piece. Burnish all folds with a bone folder or the handle of your scissors.
Assembly
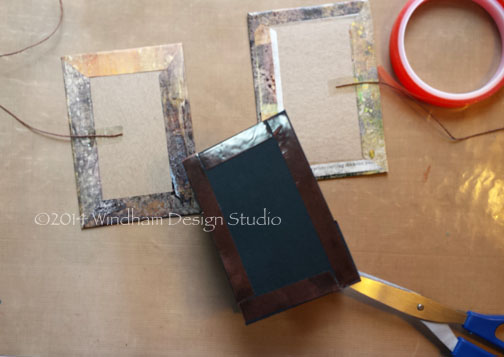 Attach the 8″ piece of hemp to the inside front cover with Kool Tak™ Ultra Clear 1/2″ . Repeat with the back cover, attaching the 16″ piece. Be sure they are the same distance from the top unless you want an angled tie.
Attach the front and back covers to the inside with Kool Tak™ Ultra Clear 1/2″.
Apply 1/4 sheet of Kool Tak™ Ultra Clear to 4″ x 5″ piece of chipboard and cut Gadget Gears dies.
NOTE: If I were using a hand punch or a filigree punch, I would probably use Kool Tak™ Punch Adhesive sheets, which are designed to cut punched materials.
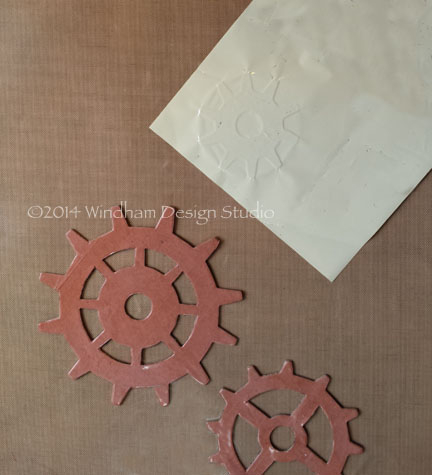 Remove the release film and apply Kool Tak™ Foils to the die cuts.
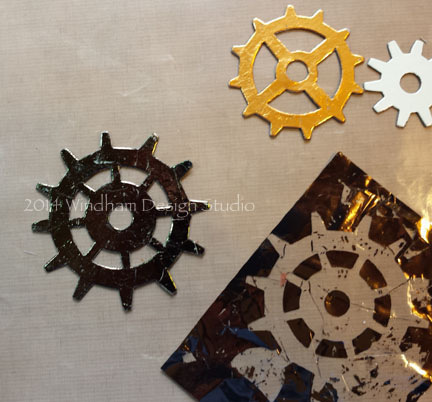 I purposely used a piece of the brown foil which I had used before to give me a rough texture, then applied Black Stazon Ink with a sponge to fill in the places where the chipboard showed.
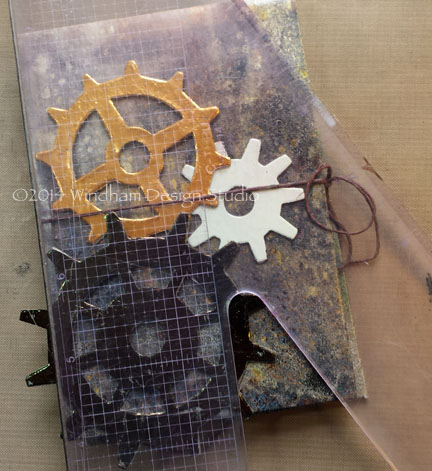 Wind the hemp from the back cover around the back and front of the book and tie in a bow. Place your die cuts on the book for position only. Bring the large gear off the bottom and left side and use a triangle or rules to mark where it crosses the cover edges. Trim these portions away with the scissors. Sponge all gears with Jet Black Stazon Ink.
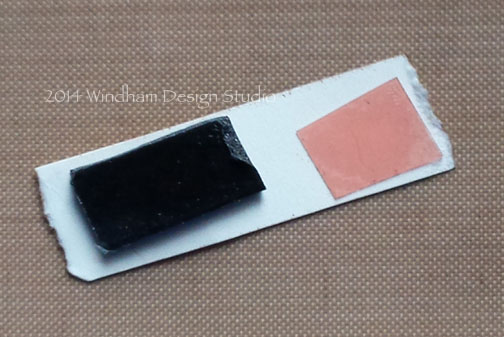
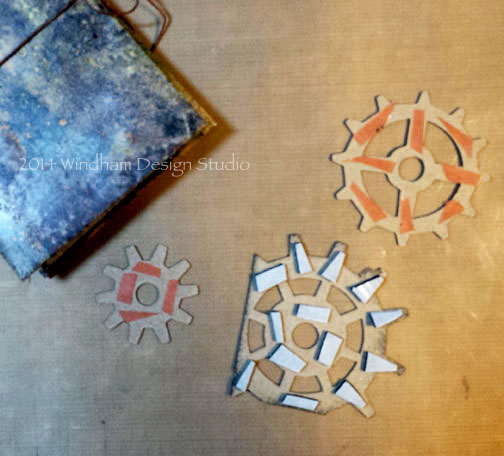 Apply Kool Tak™ Decoupage 3D Black Foam to the back of the largest gear so that it will pop off the cover. Apply Kool Tak™ Ultra Clear Adhesive cut from scraps you may have or from the Kool Tak™ Ultra Clear 1/2″ Adhesive to the two smaller gears. Apply to the book front according to the finished photo. Be sure the gears go under the hemp ties. The larger one can be placed just over the edge of the hemp so that it doesn’t block the tie.
Stamp ATC on a scrap of cream card stock. Tear the ends away and sponge Vintage Photo Distress Ink all around the ATC tag. Apply Kool Tak™ Decoupage 3D Black Foam to the left side of the back and Kool Tak™ Ultra Clear Adhesive to the right to account for the different heights of the large gear and the book cover.
Short demo of CitraSolv Technique
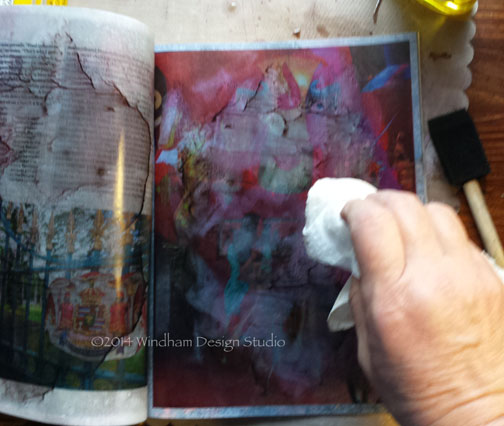
This is messy, so be sure to have paper towels handy
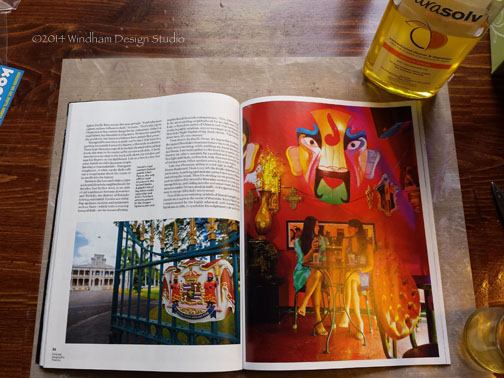 Select a National Geographic magazine with colorful photos.
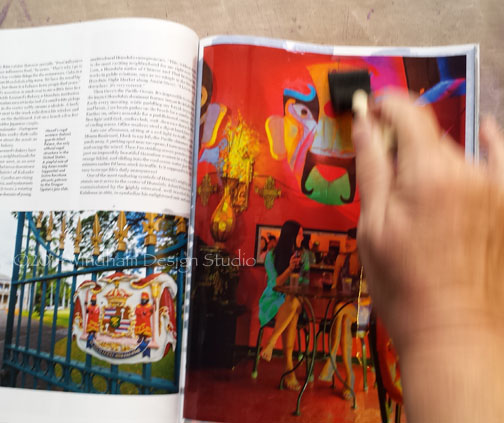 Pour a little CitraSolv into a glass container. Use a brush to slap in the CitraSolv, getting it really wet. You can also place the CitraSolv in a spray bottle, but it dissolves some plastics.
Cover as many pages as you like, because you’ll be sorry if you don’t. As you coat each page, turn the page and smash it as much as possible. Wipe the book edges as the liquid seeps out.
Place your book on a stack of newspapers, weight it down and let it sit for about 15 minutes.
Peel the pages apart and tear them out to dry. You’ll be amazed.
You can also manipulate the ink with a paper towel or plastic wrap while it’s still wet™.
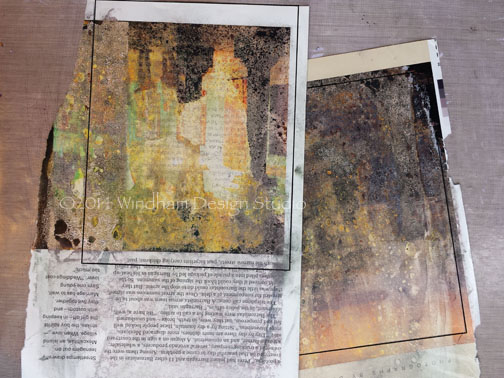
Use your template to select your cover paper. I got two pages from this one.
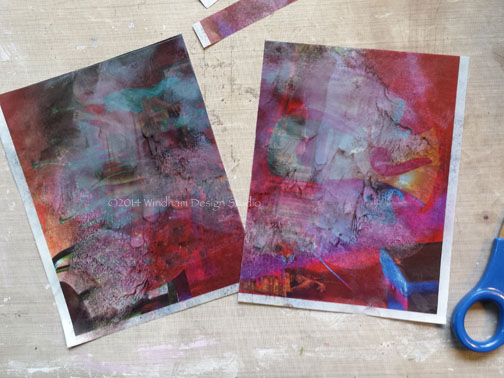 Here are my two finished cover papers. I can see some thing Valentine-y coming from these!

