

I love color. It’s that simple. I know that I share a memory with thousands of people across the world of opening a new box of crayons: the perfect points, the scent of wax and the colors of the rainbow. I still get that thrill, whether it’s a 64-color box of wax heaven or the first squeeze of paint out of new watercolor tubes.
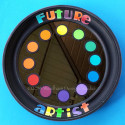
You can start your future artist off on the right foot by placing a color wheel right in front of her, literally. This mirror serves a dual purpose: reflecting the image of your little Rembrandt, while subtly imbedding the color wheel in her mind. It’s quick and very easy to make, and it will remind your child of her talents daily.
Using two Kool Tak™ products (Kool Tak™ Punch Adhesive, my new favorite product, and Kool™ Tak Artist’s Tape, the best on the market in my opinion), paper scraps from previous projects and my 40 percent off coupon for the clock, I made this very economically.
Here’s how I did it:
Supplies
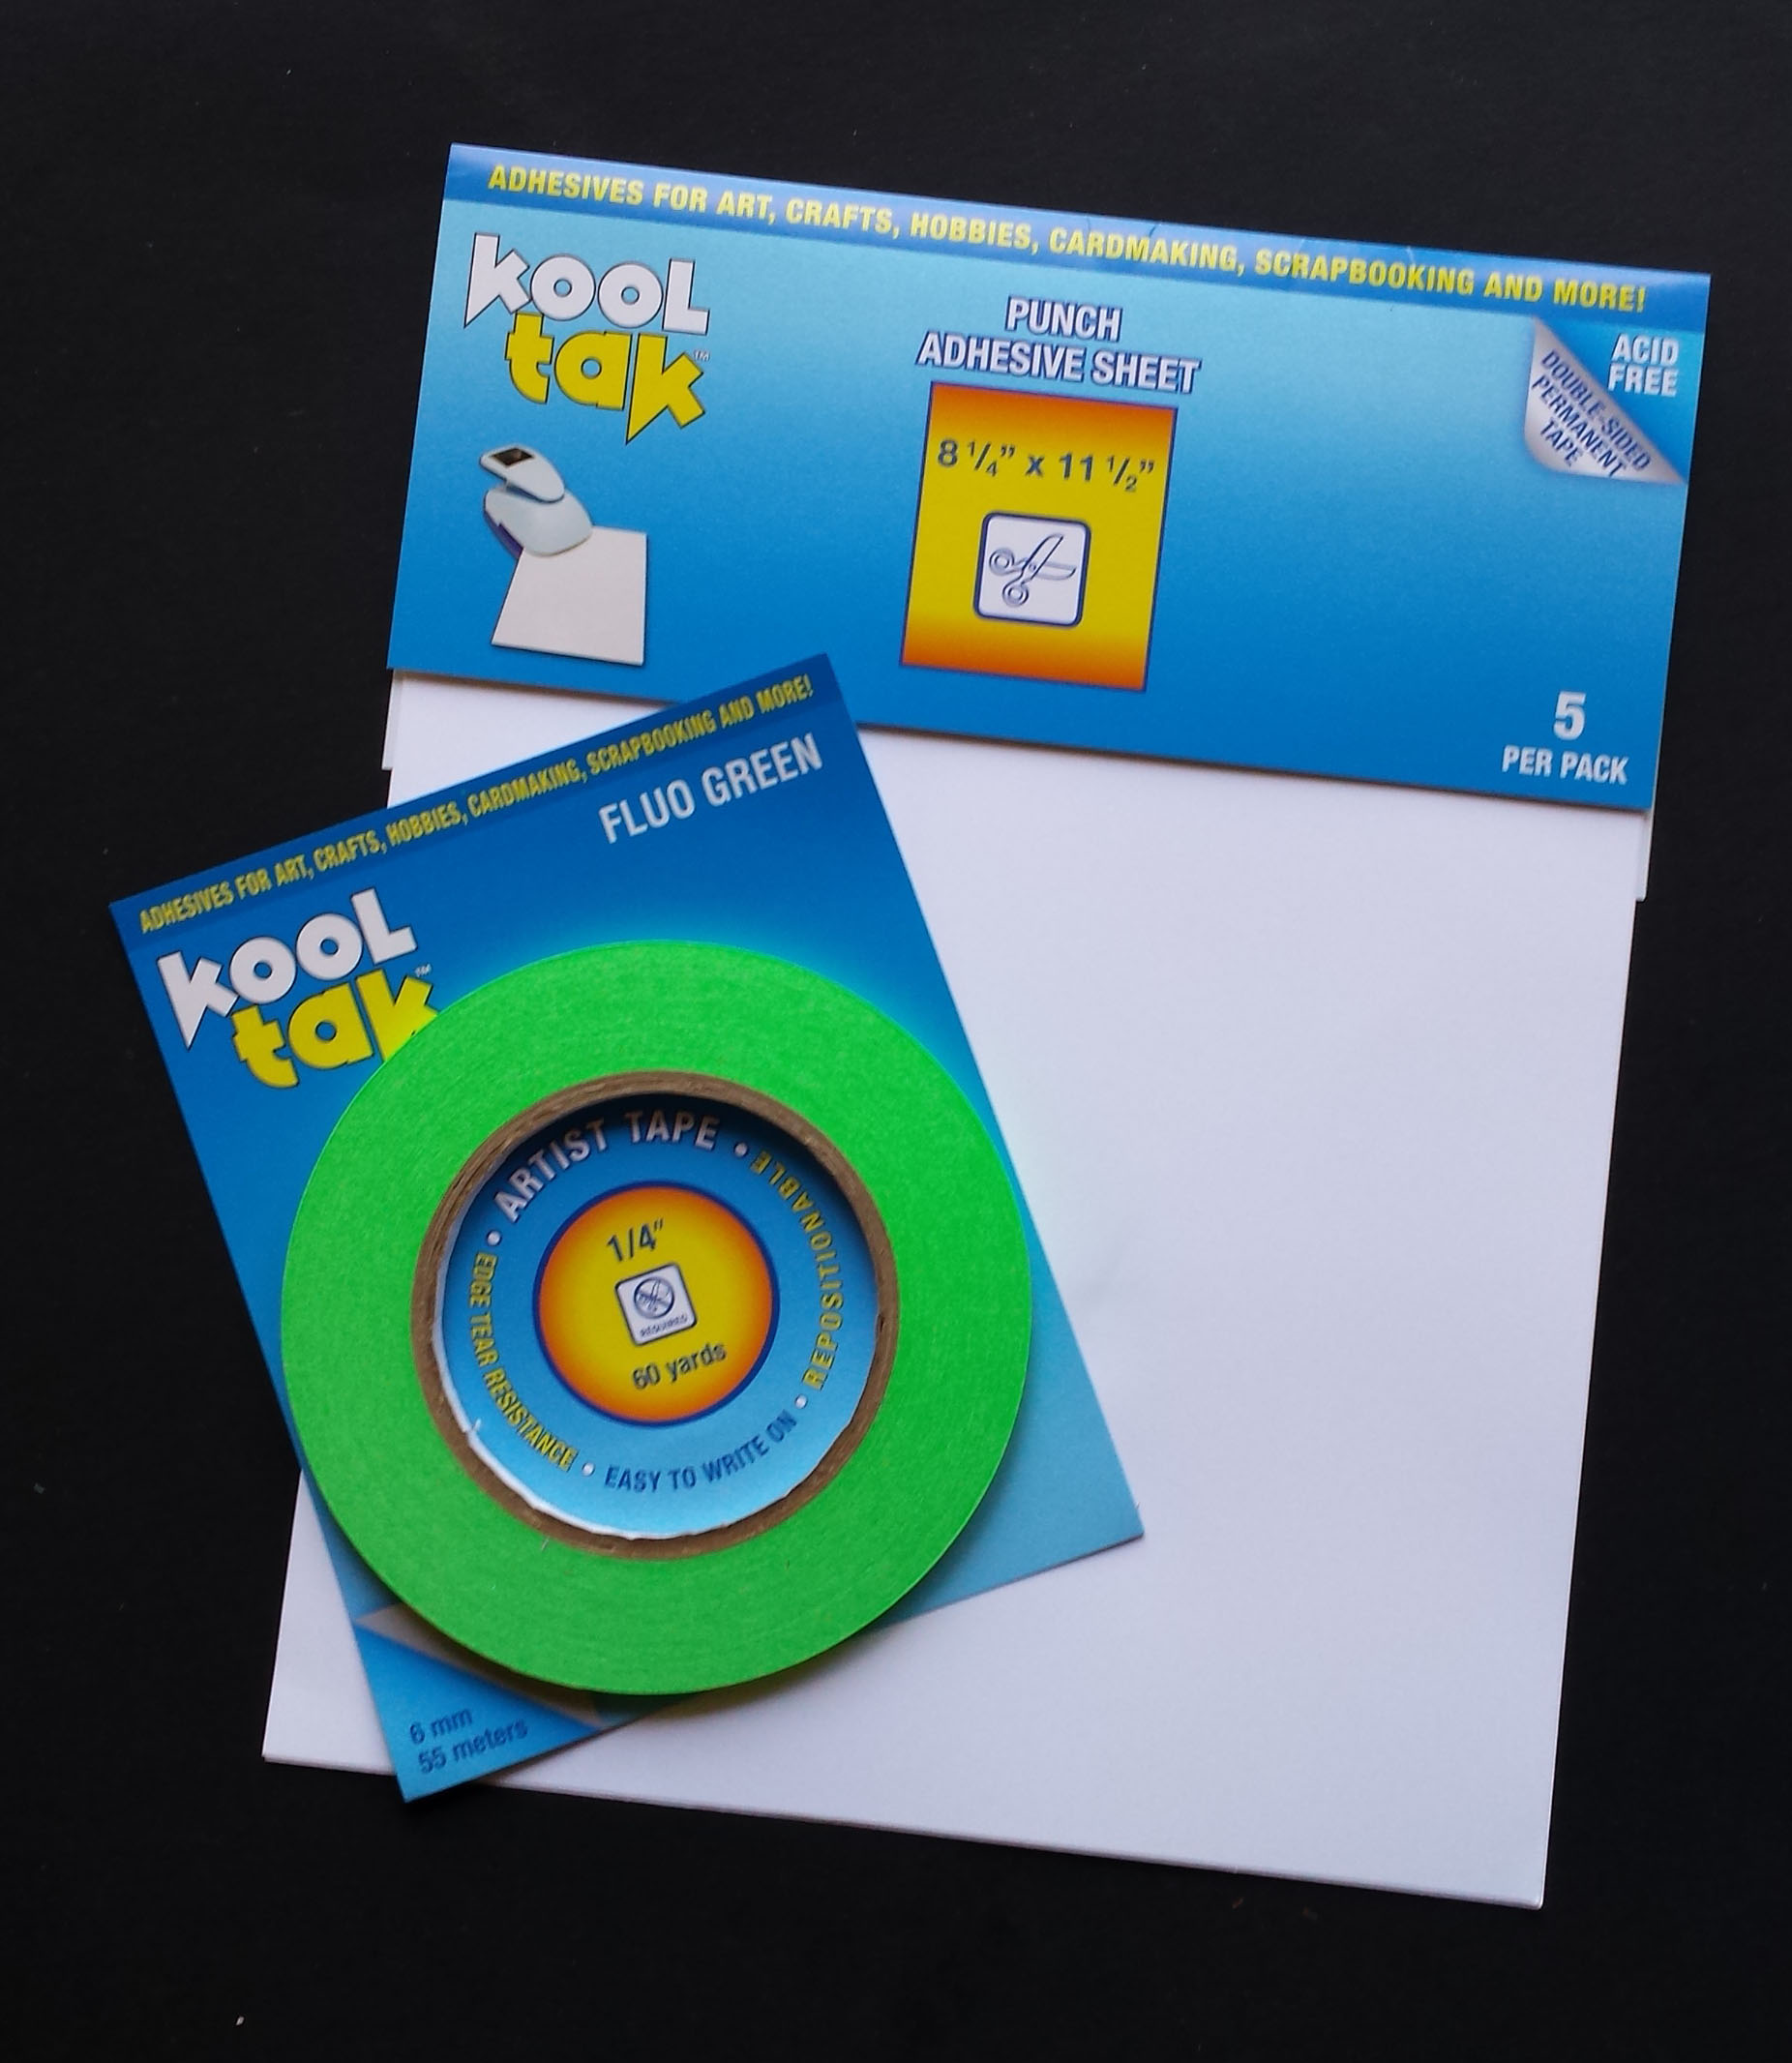
Kool Tak™ Punch Adhesive Sheets and Kool Tak™ Artist Tape make this project quick and easy!
- Kool Tak™ Products:
Kool Tak™ Punch Adhesive Sheets
Kool Tak™ Artist Tape
- Round mirror with frame (Hobby Lobby)
- Circle Punches, 1 ¾” and 1 3/8”
- Black craft paint
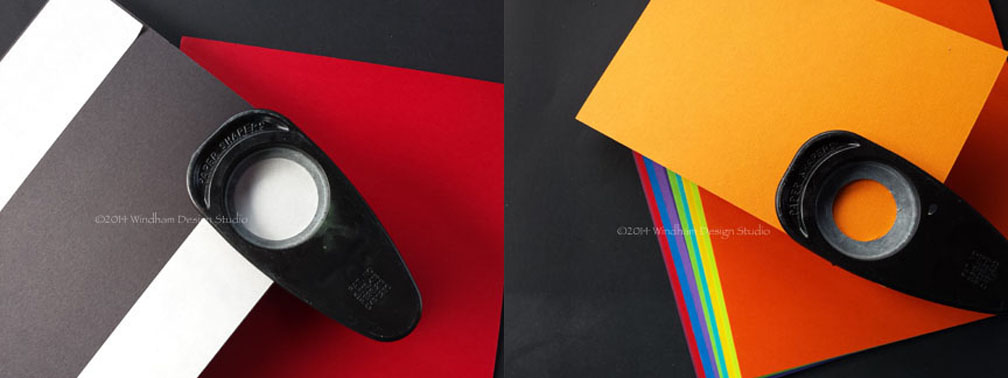
- Card Stock: 1 sheet black and ¼ sheet of yellow, yellow green, green, blue green, blue, blue violet, violet, red violet, red, red orange, orange, yellow orange
Tip: If you have red, blue and yellow craft paint, you can mix your own colors and paint them onto sturdy card stock, but you’ll probably have to press them flat when dry.
- Krylon Triple Thick Glaze
- String, 2 1/4 times the width of your mirror frame
- Letter dies or alphabet stickers
- Stazon Ink, assorted colors (optional)
Tools: Scissors, craft knife, sand paper or sanding block
Directions
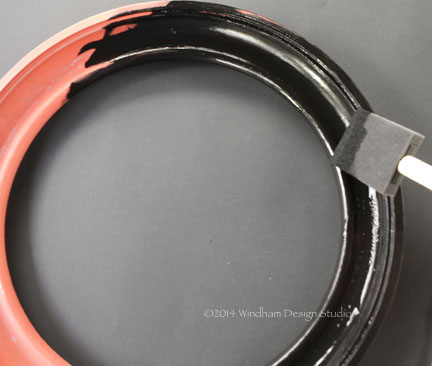 Remove the mirror from the frame. Paint the frame black or leave the color as it is. When it has dried, run the sandpaper lightly over the wood to create a slightly distressed look. Replace the mirror in the frame.
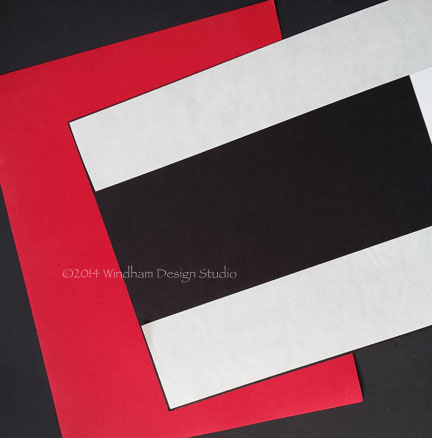
Place the strips of Kool Tak™ Punch Adhesive Sheet along three sides of the black card stock.
Place strips of Kool Tak™ Punch Adhesive Sheets on the back of the black paper (I used a 2” wide strip and placed it around the edges on three sides, rather than covering the entire sheet, to conserve my Kool Tak™ Punch Adhesive Sheet as well as the black card stock) and a 2 ½” x 8 ½” strip on the top back of each color.
Punch 12 black circles and one of each color.
Punch 12 black circles with the 1 ¾” punch and one circle of each color using the 1 3/8” punch. If your color or black sheets have a white center, use Stazon ink in the appropriate color to sponge the edges. Use the remaining color scraps to cut the letters for the title.
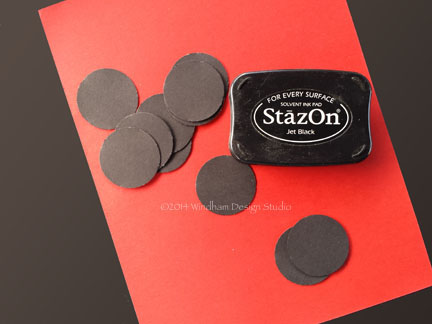
If your color or black sheets have a white center, use Stazon ink in the appropriate color to sponge the edges. You may not notice it now, but once you are finished with your project, the white peeping through the front and back of the sheet will stand out like a sore thumb.
Tip: When you’re using assorted colors, try placing a warm color (red, yellow, orange) adjacent to a cool color (blue, green violet).
Line the letters and circles up on the sticky side of the Kool Tak™ Artist Tape to hold them in place while you spray them.
Spray all your circles and letters with two coats of Krylon Triple Thick Glaze to make them water-resistant, otherwise you’ll have a hard time wiping smudges off the mirror using a glass cleaner, which could stain the colored paper. Place strips of Kool Tak ™Artist Tape with the adhesive side up on a piece of poster board scrap. Either roll the ends of the tape back to adhere them to the poster board or tape them down at each end. Place your circles and die-cut letters (with the release paper still attached) face-up on the tape and spray.
Tip: If you don’t want to use the clear glaze to protect the paper circles, you can cut a piece of transparency material and place it in the frame first, covering the mirror and the paper circles. The only drawback to this method is that you may not be able to find transparency material larger than 8 ½” x 11”, limiting the size of your mirror. Be sure to assemble the color circles with the frame in place on the mirror to make sure you haven’t covered any circle edges.
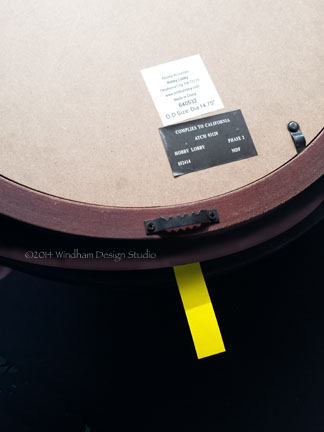
Mark the center top of the frame.
Using the hanger as a guide, tie the string around the frame from top to bottom.
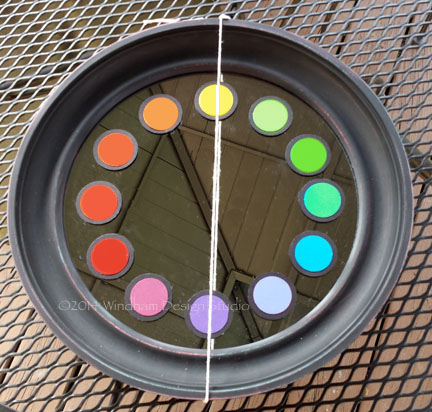
Find the center with a string tied around the outside of the frame. Be sure you place the yellow and violet circles at the top and bottom.
Remove the release paper from the back of each color circle and attach them to the black circles, centering to leave a nice border around the edge. Beginning with yellow, remove the release paper from the black circle and place it at the top of the mirror, about 1/2″ from the inside frame edge, using the string as a guide. Place the violet circle at the bottom, again centering it where the string crosses the frame. Place the remaining circles onto the mirror. I found it easier to place green, blue, red and orange and then add the tertiary colors last. Check out www.colormatters.com for tips on how the color wheel works.
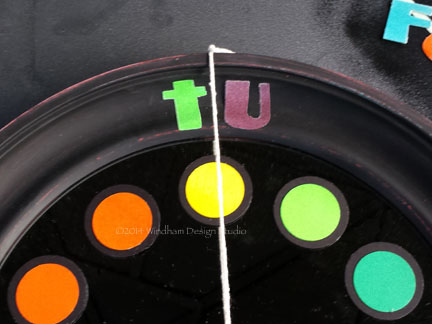
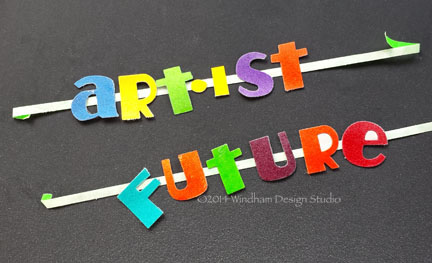
Find the center point of each word. (For ARTIST, the center is between the T and I, and for FUTURE, it’s between the T and U.) Place the center letters first on the frame on either side of the string, and then add the remaining letters. This will make your words centered and pleasing to the eye.
Tip: If you use different words which may have an odd number of letters, find the center letter and place it directly under the string.
That’s it. Easy-peasy!
I have also used the color wheel to make a clock for my studio. The principle is the same. I used colored circles and replaced the clock background, which was white, with solid black. These make great gifts for your artsy friends – and it’s less than 3 months until Christmas. At less than $10, this will make an economical gift and the most you will invest is your time. Your friends will only see the the investment of your love for them.
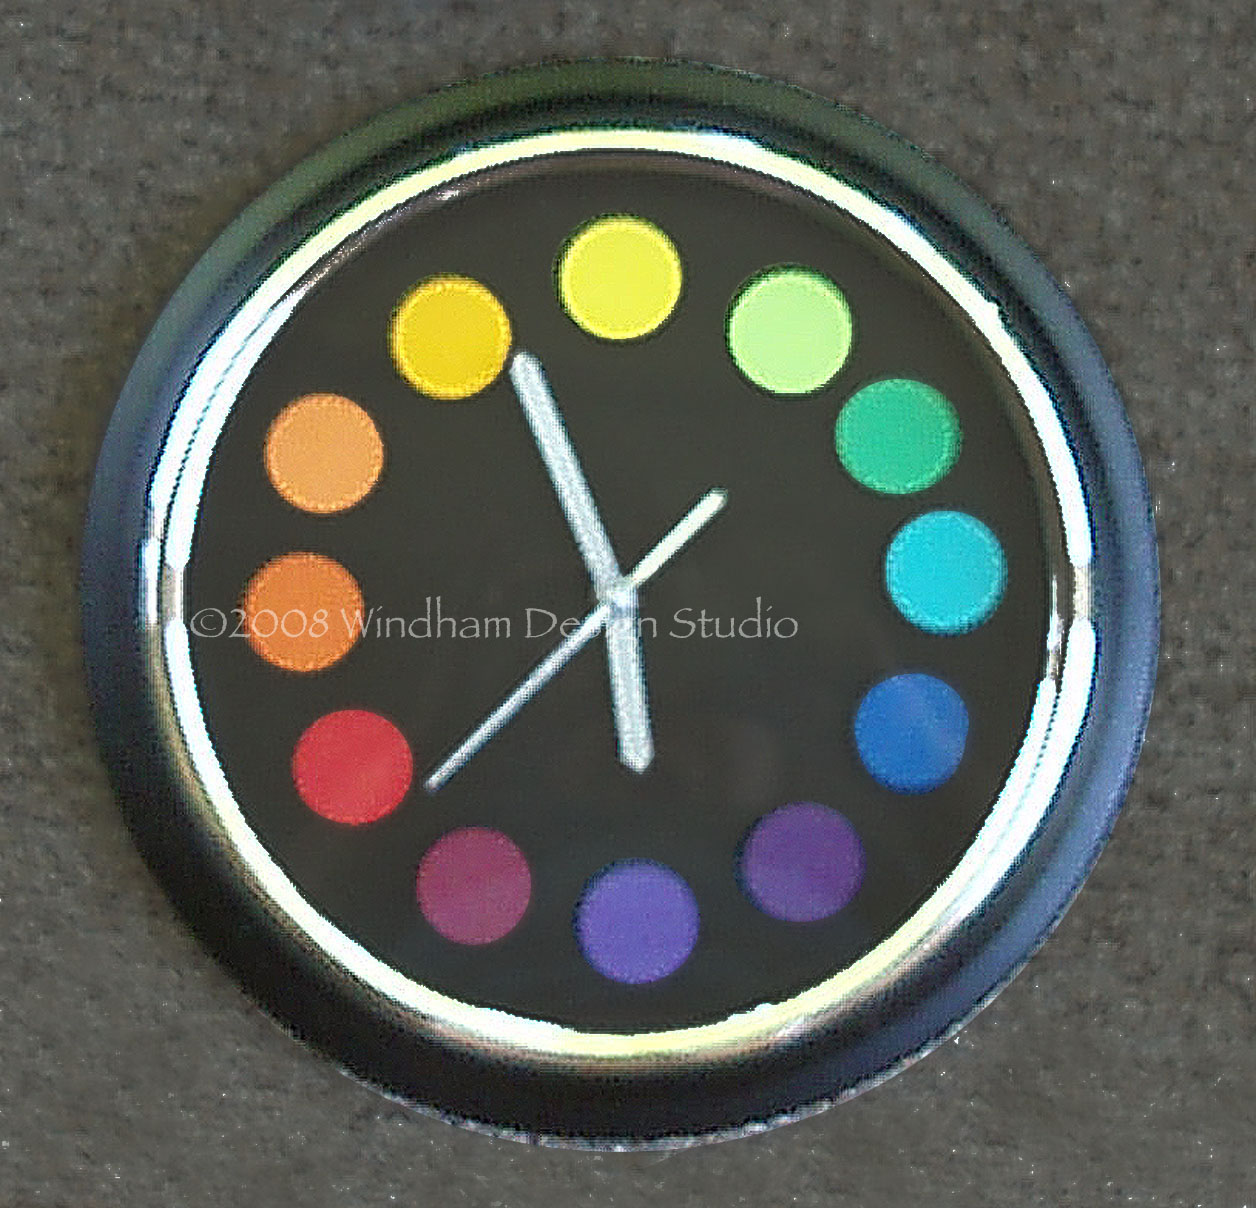
Use an inexpensive big chain store clock to make gifts for your artsy friends.