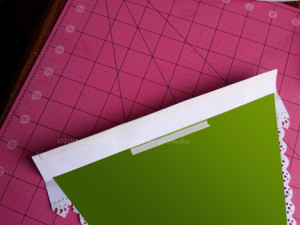
Easter is almost here, and what better way to get in the mood than crafting a bright, cheery banner to hang for an Easter gathering at home, or in this case, dressing up the fellowship hall at our church.
I know my banner will hold up for many years, thanks to the heat and cold resistance of Kool Tak™ Premium Extreme and Ultra Clear Adhesives, even if I store it in an attic or garage. (I’ll pack it into a self-sealing plastic bag to protect my papers from moisture, though.)
Here’s how I made it:
Supplies
Kool Tak™ Products:
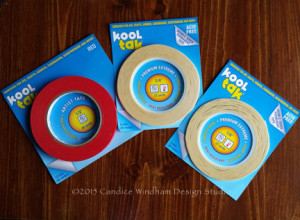 Kool Tak™ Premium Extreme Adhesive, 1/8” and ¼”
Kool Tak™ Ultra Clear, three 8” x 10” sheets
Kool Tak™ Artist Tape, ½
Printed paper or card stock, 12” x 12”, two sheets each of three Easter print patterns (The Paper Studio)
Note: Three to four letters and three to four 9” x 2” strips will be cut from each sheet. One sheet will also have a pennant cut from an 8” x 10 ½” portion to make the separation between the banner words.
Solid card stock, 11 sheets, assorted colors to match the prints, 8 ½” x 11” (Bazzill)
White card stock, 9 sheets, 8 ½” x 11”
Ink to match solid card stock (Ann Butler ColorBox Crafter’s Ink, Clearsnap)
Chipboard, two sheets, 8 ½” x 11”
Computer and printer
Lace Die (Tim Holtz Alterations, Vintage Lace, Ellison)
Sizzix Big Shot (Ellison)
Curling ribbon, approximately 3 yards
Easter garlands, 2 (Hobby Lobby)
Happy Easter pdf file (if desired)
Tools: Scissors, piercing tool, sponges
Instructions
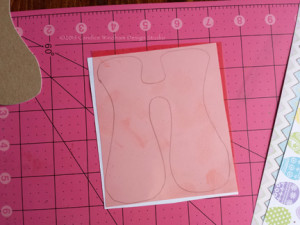
Print Happy Easter pdf file. Use three or four strips of ¼”Kool Tak Premium Extreme Adhesive to attach the printed letters to the chipboard.
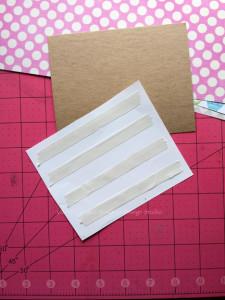
Place four strips of 1/4″ Kool Tak Premium Extreme Adhesive on letter print back. Remove release paper and adhere to the chipboard.
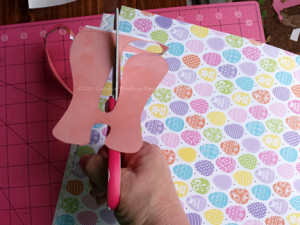
Carefully cut out the letters.
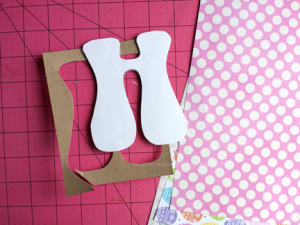 Decide how many letters you will need to be able to alternate the patterned paper so that the same pattern is repeated every three letters. Trace them onto the back of three of the different printed papers.
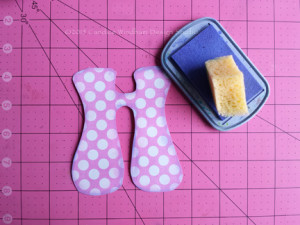
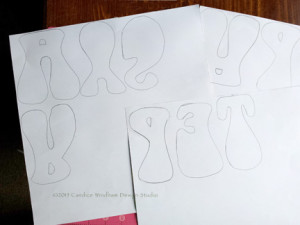 Apply enough Kool Tak™Ultra Clear Adhesive to cover each letter and trim.
Sponge ink on all the edges, using one color or several, and set the letters aside.
Note: Tracing the letters on the back of the papers will prevent pencil lines on your finished letters, but make sure you place your chipboard letters backwards – chipboard side up – so that they will read correctly when trimmed.
TIP: If you have a particular font that you use frequently for larger letters such as these, make an entire alphabet set of these chipboard letters. Just trace them off onto your favorite card stock for custom headlines or banners, then store them for use again and again.
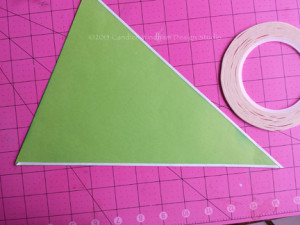
Mark the center of the 8 ½’” side of each piece of colored solid card stock and one sheet of the white card stock. Cut from the center mark to the opposite corners to make pennants. Cut a piece of patterned 8” x 10 ½” paper and cut an additional pennant. Mount the patterned pennant to the white pennant with ¼” Kool Tak™ Premium Extreme Adhesive.
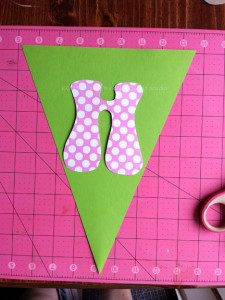
Find the lower edge paper center and trim from each upper corner to the lower center to create the pennants.
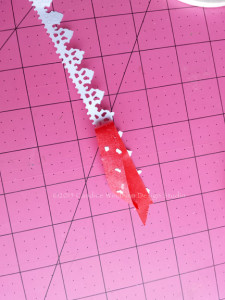
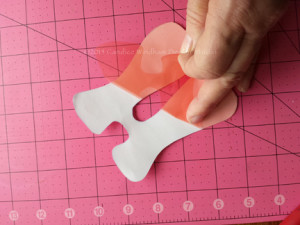
Cut the lace die 23 times from the remaining white pieces of card stock. Separate the three paper lace patterns. Set one paper lace pattern aside to be used on another project. Pierce any remaining paper that did not come loose when you removed the lace strip from the die from front to back, then use a piece of the Kool Tak™ Artist Tape to remove any lingering excess pieces on the back.
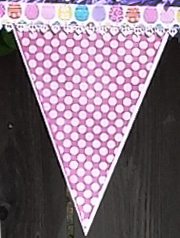
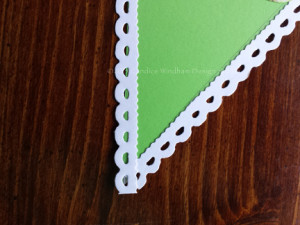
Select 22 pieces of a second paper lace pattern . Apply 1/8” Kool Tak™ Premium Extreme Adhesive to the two long edges of each pennant front and attach the paper lace. Trim the point of the paper lace flat across.
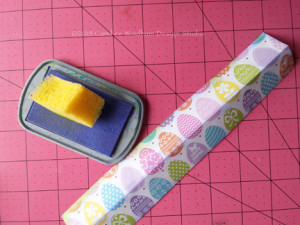
Cut four 9” x 2” strips from each patterned sheet. Score and fold to make 9” x 1” toppers.
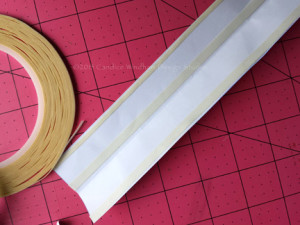
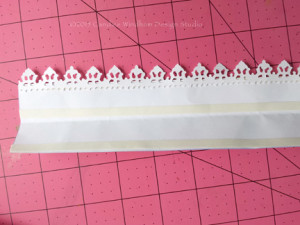
On the inside of each fold, place a strip of 1/8” Kool Tak™ Premium Extreme Adhesive along one 9” edge. Place a strip of ¼” Kool Tak™ Premium Extreme Adhesive along the fold and another near the opposite edge.Remove the release paper on the 1/8” Kool Tak™ Premium Extreme Adhesive and attach one of the remaining paper lace strips.
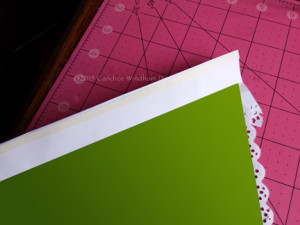
Remove the release paper from the strip of 1/4” Kool Tak™ Premium Extreme Adhesive along the fold and attach these to the top of each pennant, placing the top edge of the pennant against the fold. Do not fold the topper yet.
Remove the release papers from the backs of the letters and attach them to the pennants.
Attaching the pennants to the curling ribbon.
Place a small piece of ¼” Kool Tak™ Premium Extreme at the center of the fold on each pennant topper and remove the release paper.
Place the ribbon on the adhesive to hold it in place, remove the remaining release paper from the last strip on the topper and fold over the ribbon. Place the next pennant about ¾” away and repeat. Use the pennant mounted to the white card stock to separate the words.
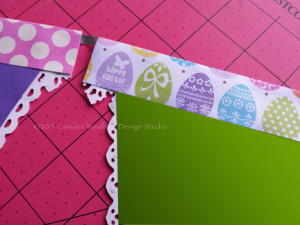
Remove the release paper from the pennant topper and fold the remaining edge of the topper down and adhere. Set the pennants about 3/4″ apart
Hang a purchased fluffy garland to add interest to the banner, hang the banner over it, sit back and wait for the compliments.


