All mothers are special, which is why we set aside a day to honor them. She was the first one who loved you, and you are one of the few people who have heard her heart from the inside.
Why not give your mother something special, something made from your heart? Kool Tak™ products make it simple to create a masterpiece, one that will to stand up to the ravages of time, because you know that if you made it, she will keep it forever.
Now is the time to get a jump-start on Mother’s Day this year. Here’s how I did it”
Supplies
Kool Tak™ Products
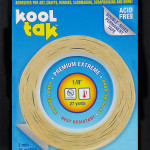
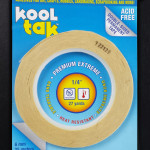
Kool Tak™ Premium Extreme, 1/8” and ¼”
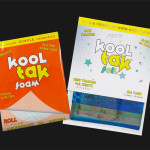
Kool Tak™ Foam Roll, ½”
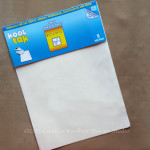
Kool Tak™ Punch Adhesive sheet
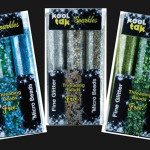
Kool Tak™ Sparkles, Blue, Green
and Silver Packs
Kool Tak™ Foils, Sea Tones
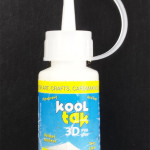
Kool Tak™ 3D PVA Glue
Additional Supplies
Card stock, cream, 12” x 12” cut to 6” x 12” (Stampin’Up®)
Card stock, blue, 5 ¾ square (Stampin’Up®)
Printed Paper, 5 ½ “ square (The Paper Studio)
Card stock scraps for sentiment tag and die cuts
Circle Punches, ½”, ¾”, and 1”
Dies:
Spellbinders Shapeabilities, Jewel Flowers and Flourishes
Spellbinders A2 Curved Borders One
Spellbinders Texture Plate
Shapez by Zyron, Flowers (Spellbinders)
Versamark Pad Clear Ink Pad
Silver Embossing Powder
Sentiment stamp (Stampin’ Up®)
Pan Pastels and applicator
Dark blue dye ink and sponge
Tools: scissors, heat tool, paper towels
Instructions
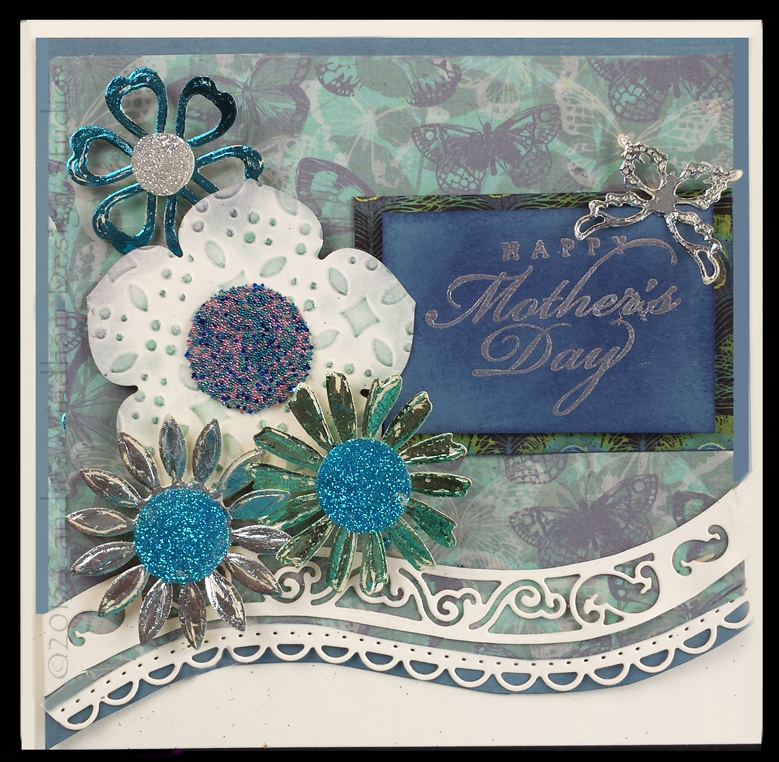
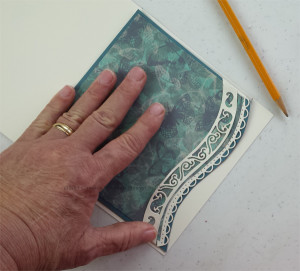
Cut two curved borders from the cream card stock. Attach the larger border to the printed paper with 1/8” Kool Tak™ Premium Extreme, allowing it to extend beyond both side edges, and trim along the bottom edge about 1/8” below the border.
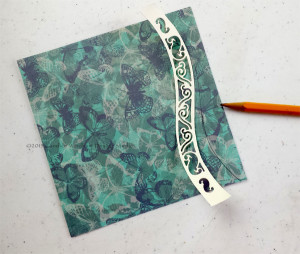 Using 1/8” Kool Tak™ Premium Extreme , attach the second border under the edge of the printed paper and attach the printed paper to the 5 ¾” square card stock.
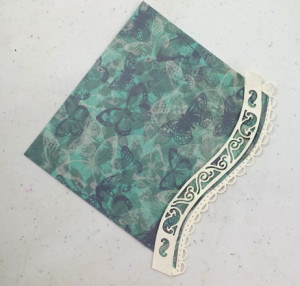 Trim the solid card stock against the edge of the scallops. Fold the edges of the curved borders to the back and secure with 1/8” Kool Tak™ Premium Extreme.
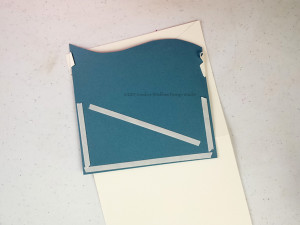
Fold the remaining cream card stock to 6” x 6”. Use one of the borders as a guide to draw a curved line approximately 1” from the bottom of the card front and trim along this line. Attach the card front to the cream sheet with ¼” Kool Tak™ Premium Extreme.
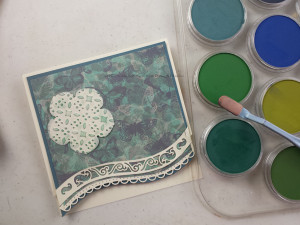
Die cut one large flower from the Shapez die and texturize it with your choice pf texture plates. Use Pan Pastels to color the flower edges and accent the texture.
Apply Kool Tak™ Punch Adhesive to the cream card stock. Die cut three flowers and one butterfly from the Jewel Flowers and Flourishes. Remove the release papers and apply silver, blue and green foil to the flower and butterfly fronts.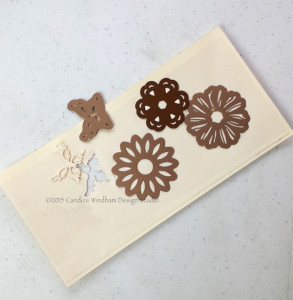
Note: I wanted a sort of rough look to these flowers, so I didn’t cover them entirely. If you want solid coverage, just reapply the foils until the surface is covered.
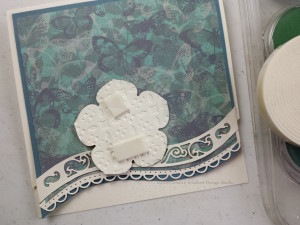
Punch circles from a strip of the remaining Kool Tak™ Punch Adhesive-covered card stock with the circle punches. Remove the release paper and cover the largest with microbeads, the second two largest with blue Kool Tak™ Sparkles Glitter and the smallest with silver Kool Tak™ Sparkles Glitter. Attach the circles to the flowers with Kool Tak™ 3D PVA Glue. Attach all flowers to the card front with Kool Tak™ Roll Foam.
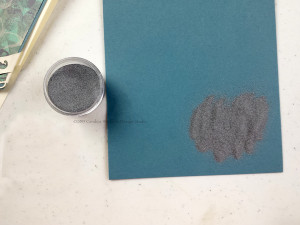
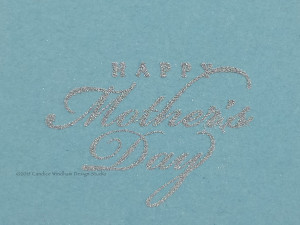
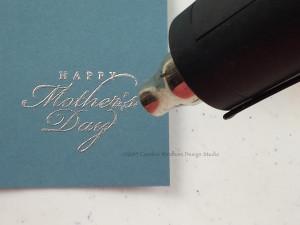
Stamp the Mother’s Day sentiment with Versamark ink on the dark blue card stock scrap. Apply silver embossing powder, tap off the excess and heat with the heat tool.If you want mor™e contrast, sponge over the sentiment with dark blue ink and wipe away any excess.
Layer this piece onto another scrap of printed card stock, attaching it with Kool Tak™ Roll Foam. Attach the sentiment card to the card front with1/4” Kool Tak™ Premium Extreme. Attach the butterfly with Kool Tak™ 3D PVA Glue.
Write a sweet note to your mother on the inside of the card.
That’s it. Attach this to a nice gift and your mother will be reaffirmed that you are the best child ever.

